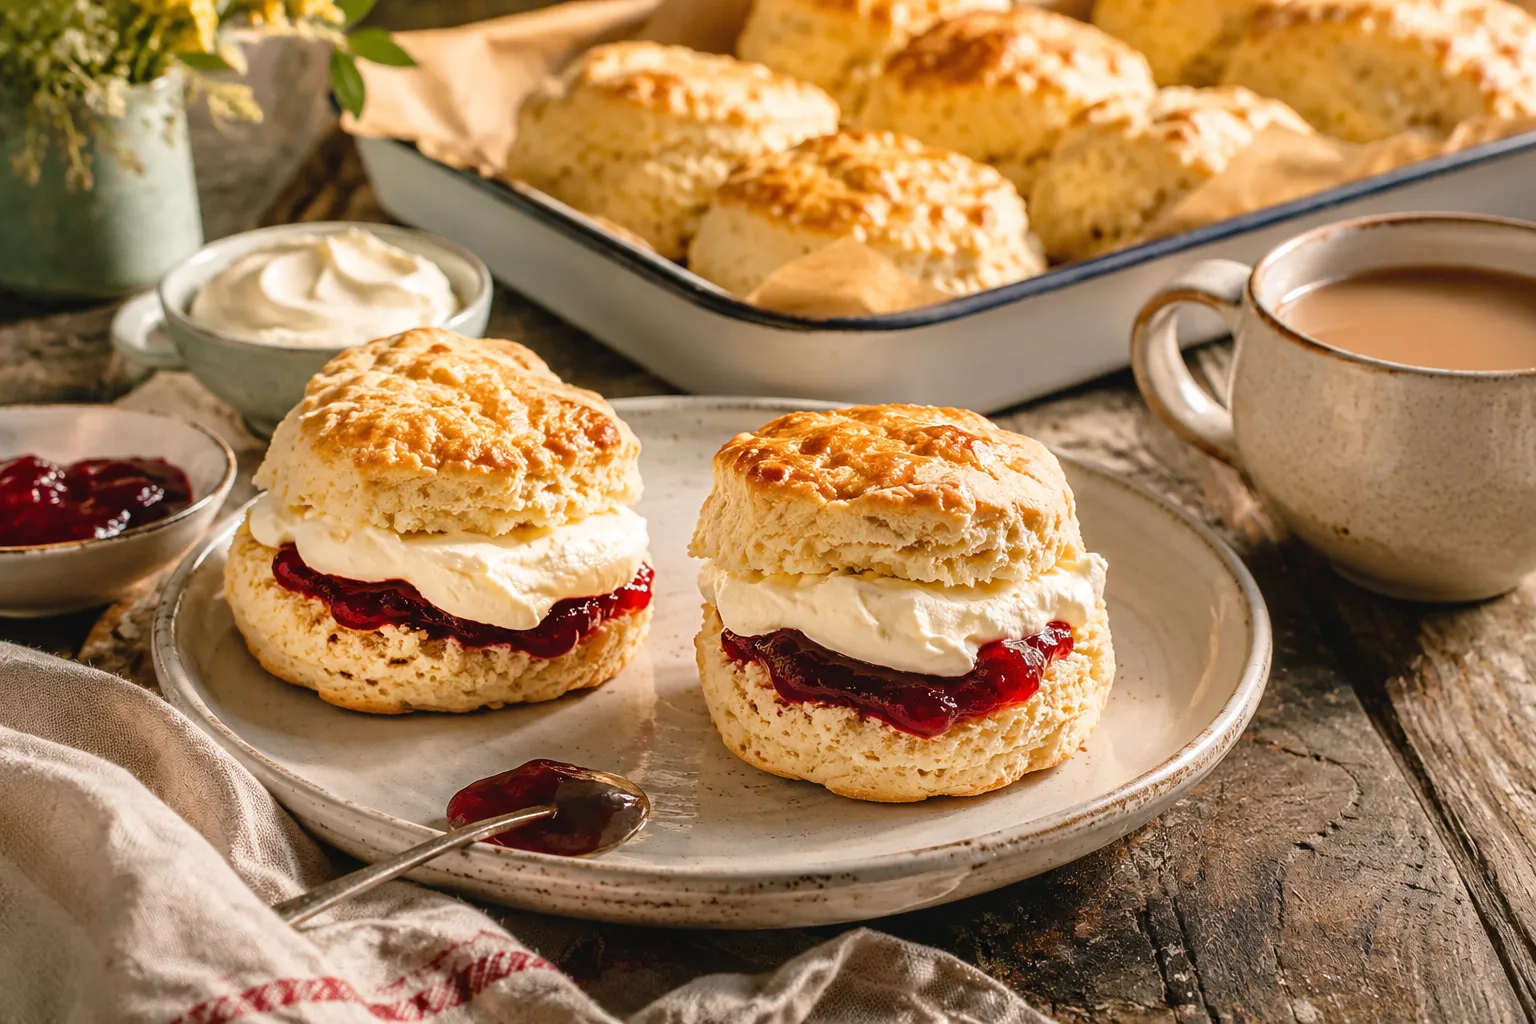
The first time someone told me to pour soda into scone dough, I assumed I'd misheard them. Lemonade. In scones. Not lemon juice, not lemon zest, but fizzy, sugary, straight-from-the-bottle lemonade, the kind you'd hand a kid at a barbecue. I was standing in a kitchen in regional Australia, holding a bottle of Schweppes Lemonade like it was a prop from a science experiment, and the woman running the class just looked at me and said, "Trust it."
I did. And twenty minutes later I pulled a tray of scones out of the oven that were taller, lighter, and more tender than any scone I'd made with butter, cold hands, and twenty years of half-remembered advice from my grandmother. That's the moment lemonade scones stopped being a novelty to me and became the recipe I reach for when I need something to rise fast, taste good, and forgive almost every mistake I make along the way.
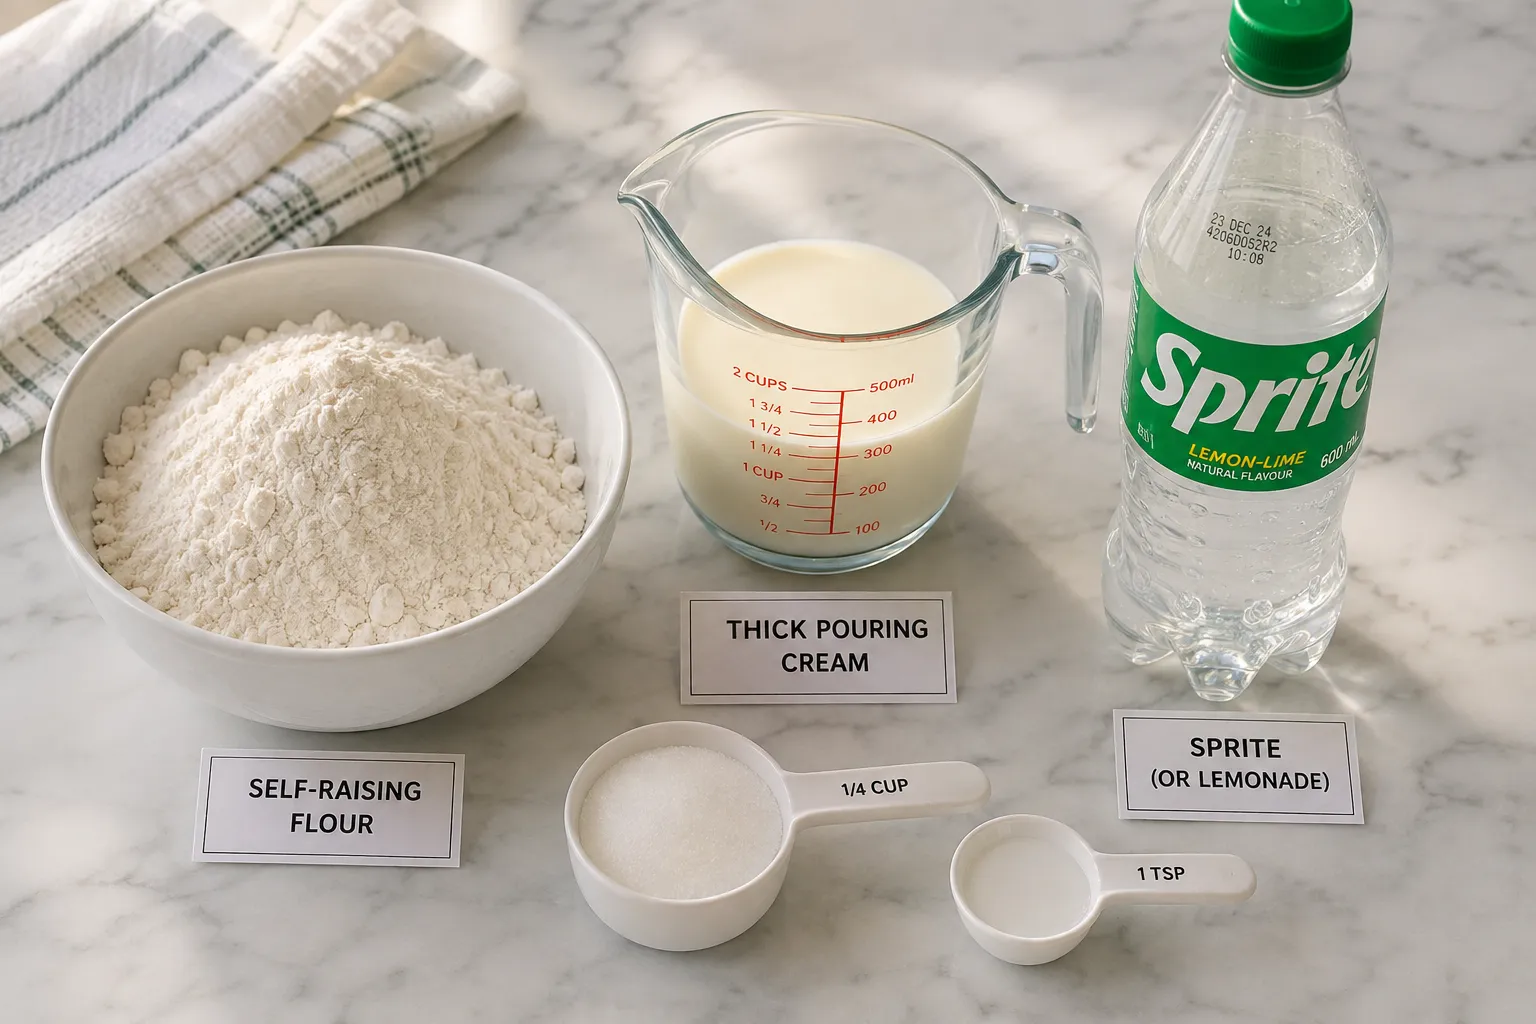
If you've never heard of them, here's the short version: lemonade scones are a classic Australian recipe made from just three ingredients — self-raising flour, cream, and lemonade, which in Australia means a clear, carbonated lemon-lime soft drink, not fresh-squeezed lemon juice. Think Sprite or 7-Up if you're outside Australia. The recipe is widely credited to the Country Women's Association, a network of rural community groups famous for turning out reliable, no-fuss baking for church fetes and country shows, though nobody can point to a single origin story with certainty. What everyone agrees on is that it works, and it works absurdly well for something this simple.
This guide is everything I've learned making lemonade scones more times than I can count, including the batches that went flat, the ones that turned into hockey pucks, and the ones that came out of the oven looking like they belonged in a bakery window.
What Are Lemonade Scones, Exactly?
Lemonade scones are a shortcut version of a traditional scone. In classic scone-making, you rub cold butter into flour until it resembles breadcrumbs, then bind it with milk or buttermilk. That method works, but it's fiddly. Warm hands melt the butter too soon. Overworking the dough makes the scones tough. It's the kind of recipe that punishes hesitation.
Lemonade scones skip all of that. The cream supplies the fat instead of butter, so there's no rubbing-in step at all. The lemonade supplies the liquid, a bit of sweetness, and crucially, carbonation, which adds extra lift on top of what the self-raising flour is already doing. You mix three ingredients into a shaggy, sticky dough, pat it out, cut it, and bake it. No resting time. No chilling. No pastry-cutter technique to master.
They don't taste like lemon, by the way. That surprises almost everyone who tries them for the first time. The soda's flavor mostly bakes out, leaving behind a faint sweetness and a wonderfully soft, almost cloud-like crumb.
Why Does Lemonade Actually Work in the Dough?
Nobody has published a definitive food-science paper pinning down the exact mechanism, and even seasoned recipe developers will tell you they're partly guessing. The most sensible explanation combines a few things happening at once. Self-raising flour already contains baking powder, so it has its own built-in leavening. The carbonation in the lemonade adds a second, immediate source of bubbles the moment it hits the flour, giving the dough an extra boost before it ever reaches the oven. And the sugar in the lemonade tenderizes the crumb slightly and helps the tops turn golden as they bake.
I think of the lemonade as an assist, not the main event. The self-raising flour is doing the structural work. The lemonade is there to keep things light, moist, and quick to rise. That's also why flat lemonade doesn't produce nearly as good a result. Once the fizz is gone, you've lost part of what makes the recipe work, and you're left relying entirely on the flour.
The Three Ingredients, and Why Each One Matters
---
Step-by-Step Method
1. Sift flour and salt
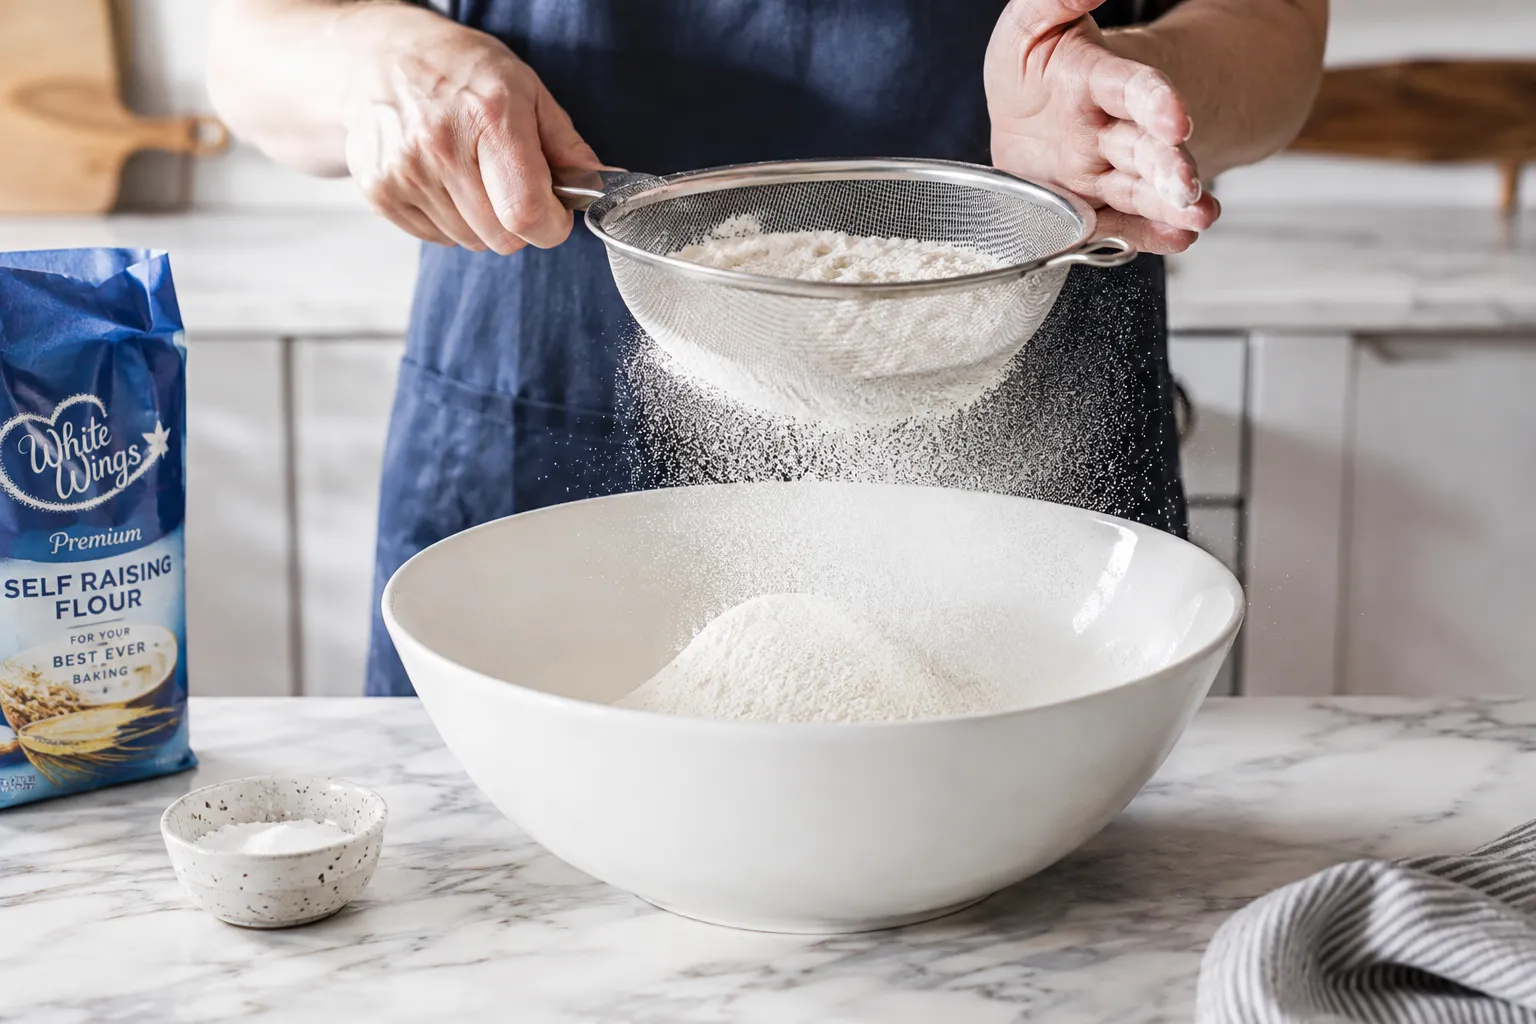 Sift the flour and salt into a large mixing bowl to remove any lumps and incorporate air.
2. Add cream and lemonade
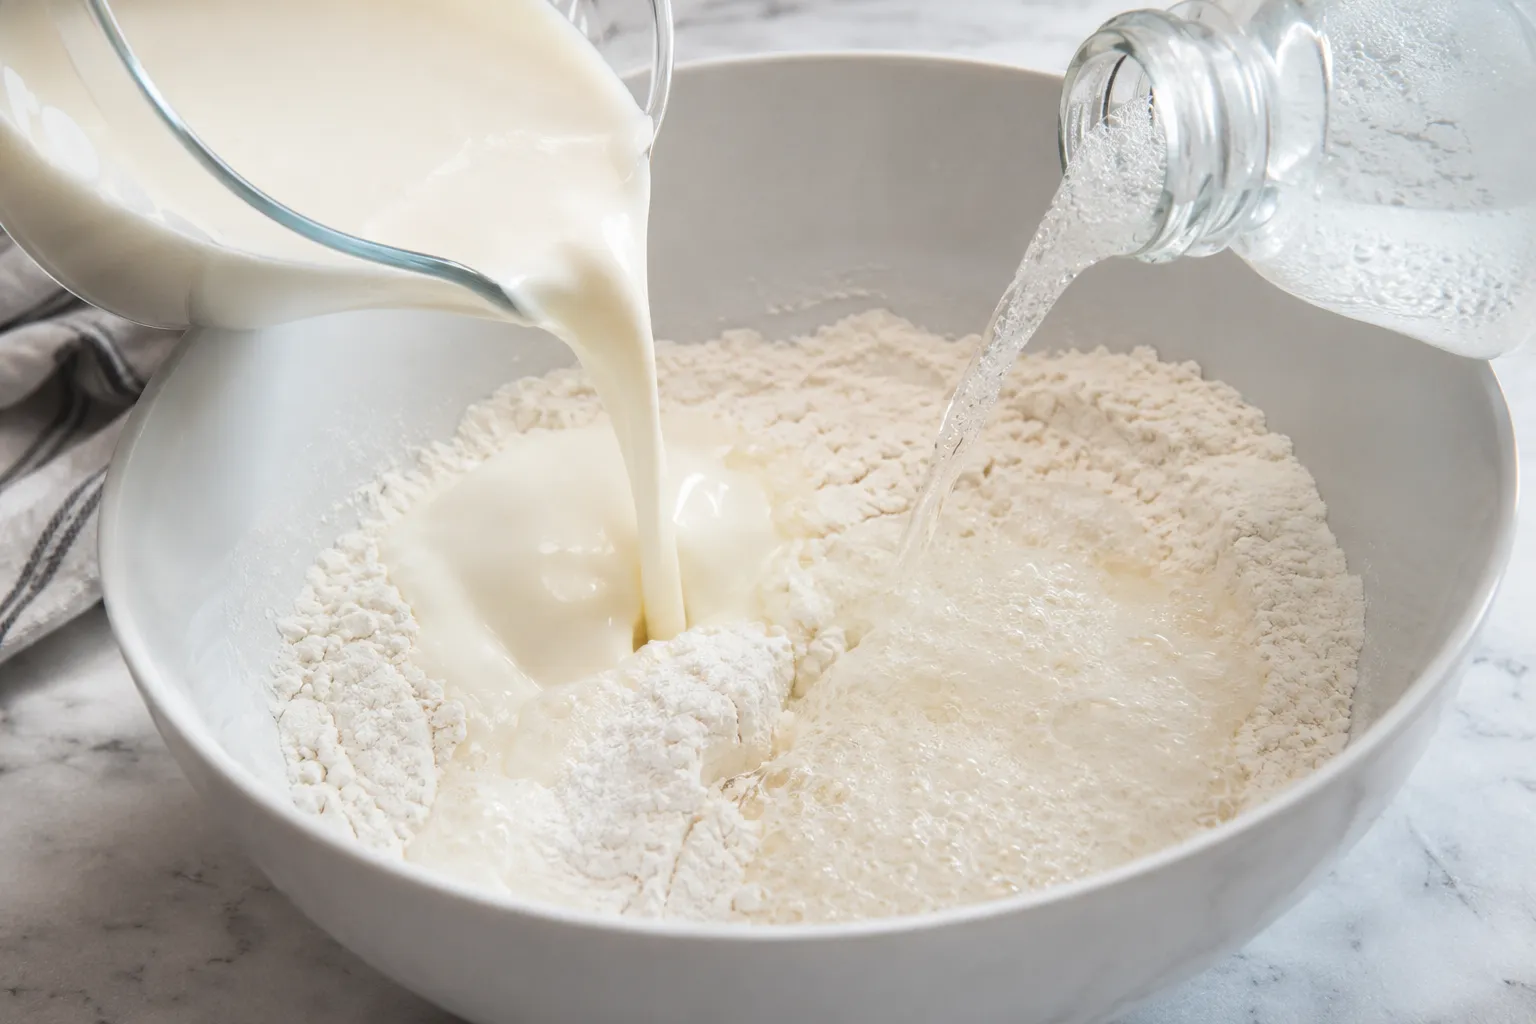 Pour the cold cream and fizzy lemonade straight into the flour mixture.
3. Mix the dough gently
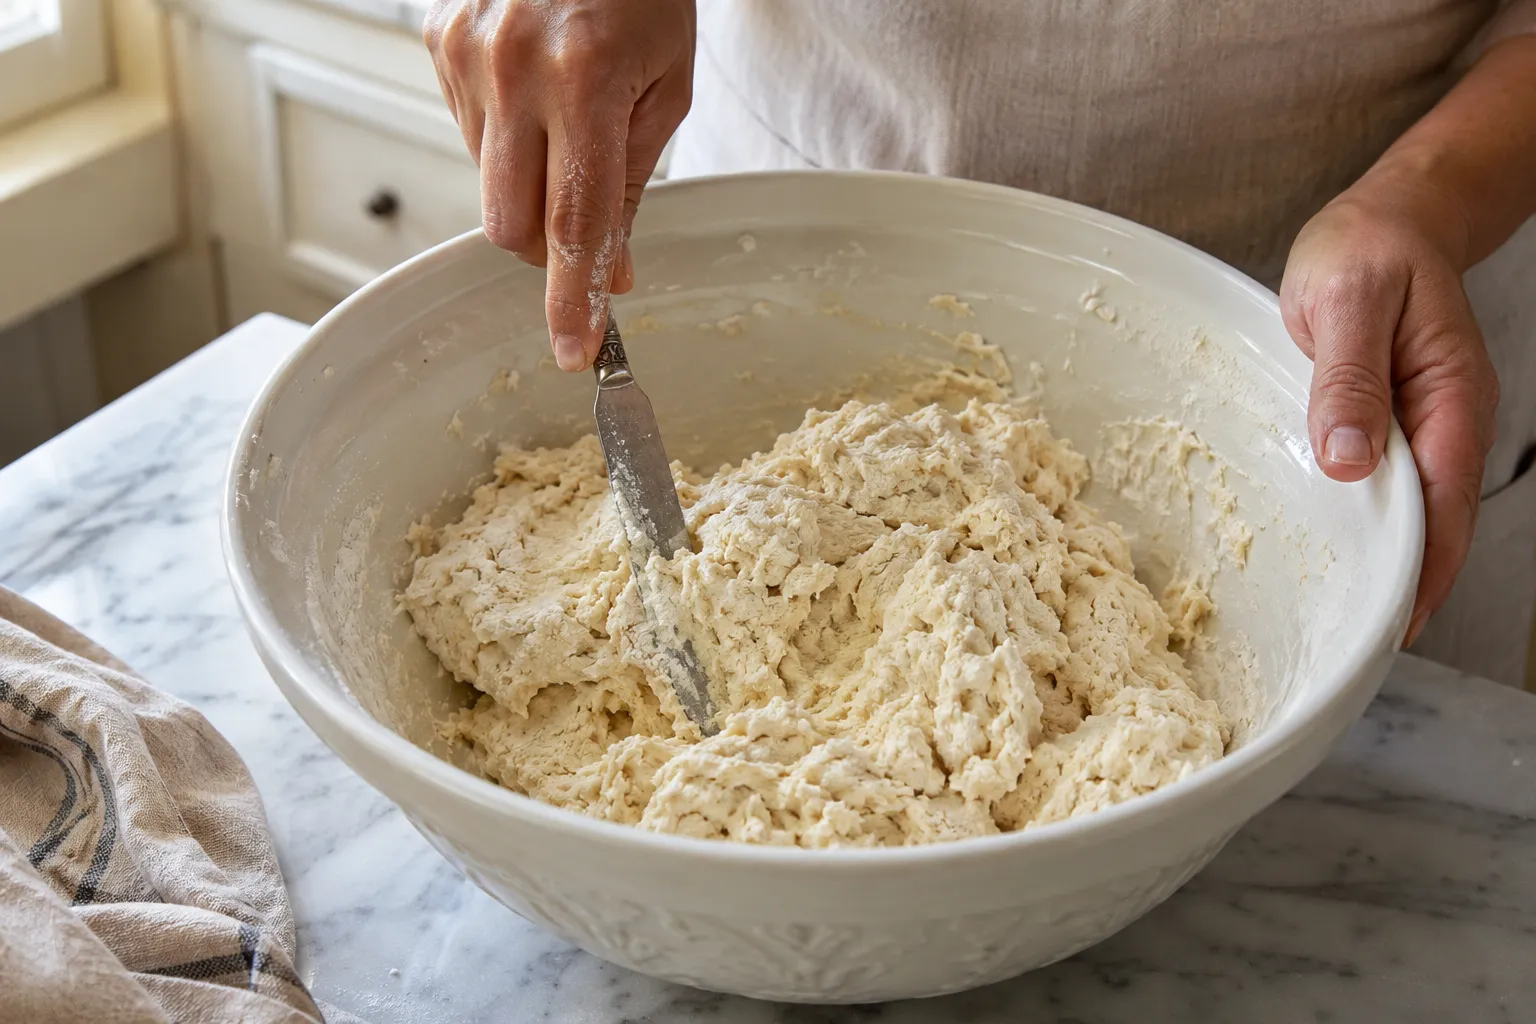 Mix gently with a flat butter knife until just combined into a shaggy, sticky dough. Don't overmix!
4. Turn out dough
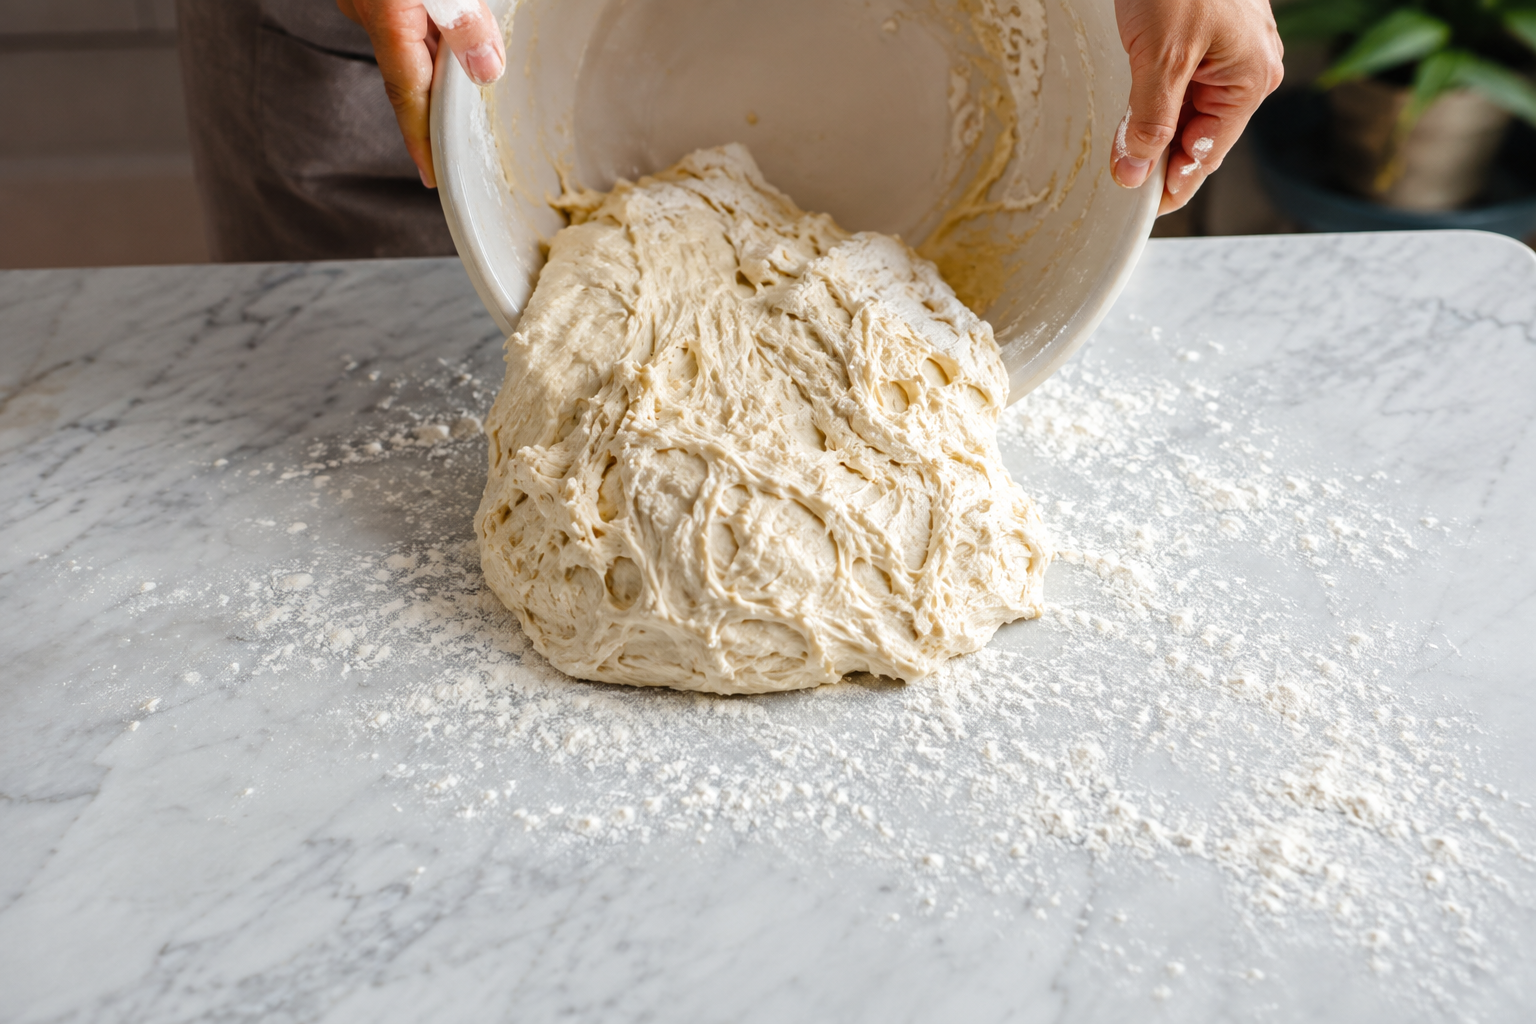 Turn the shaggy dough out onto a well-floured surface.
5. Pat the dough
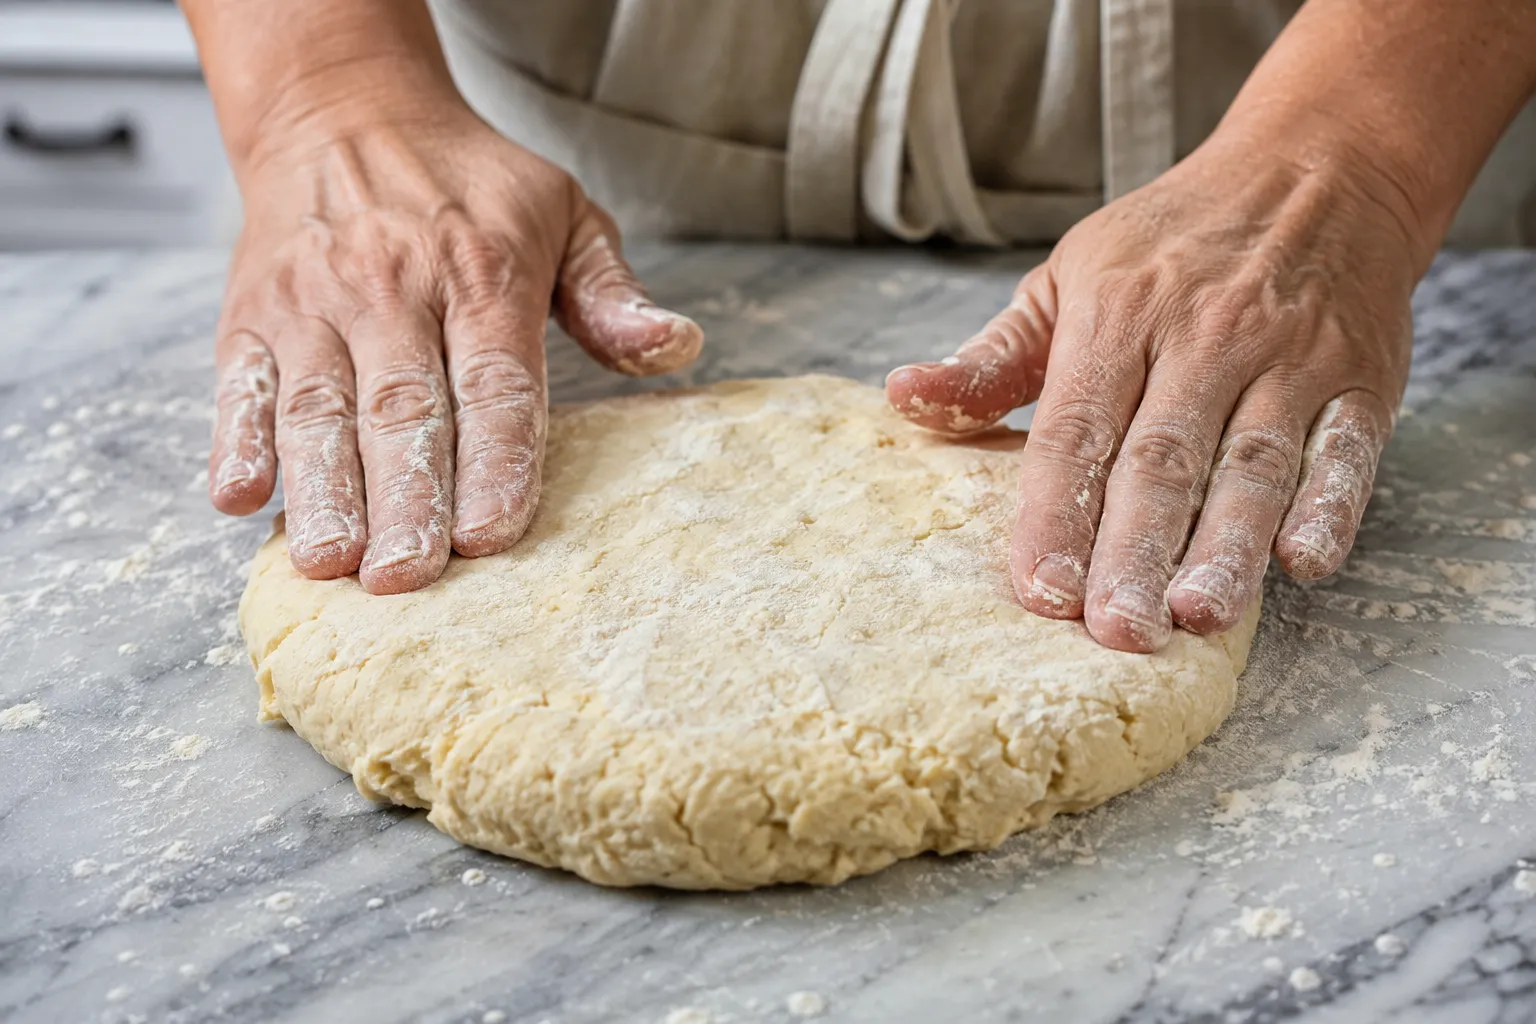 Gently pat the dough into a round about 3cm (1 inch) thick using your hands. Avoid using a rolling pin.
6. Cut scones
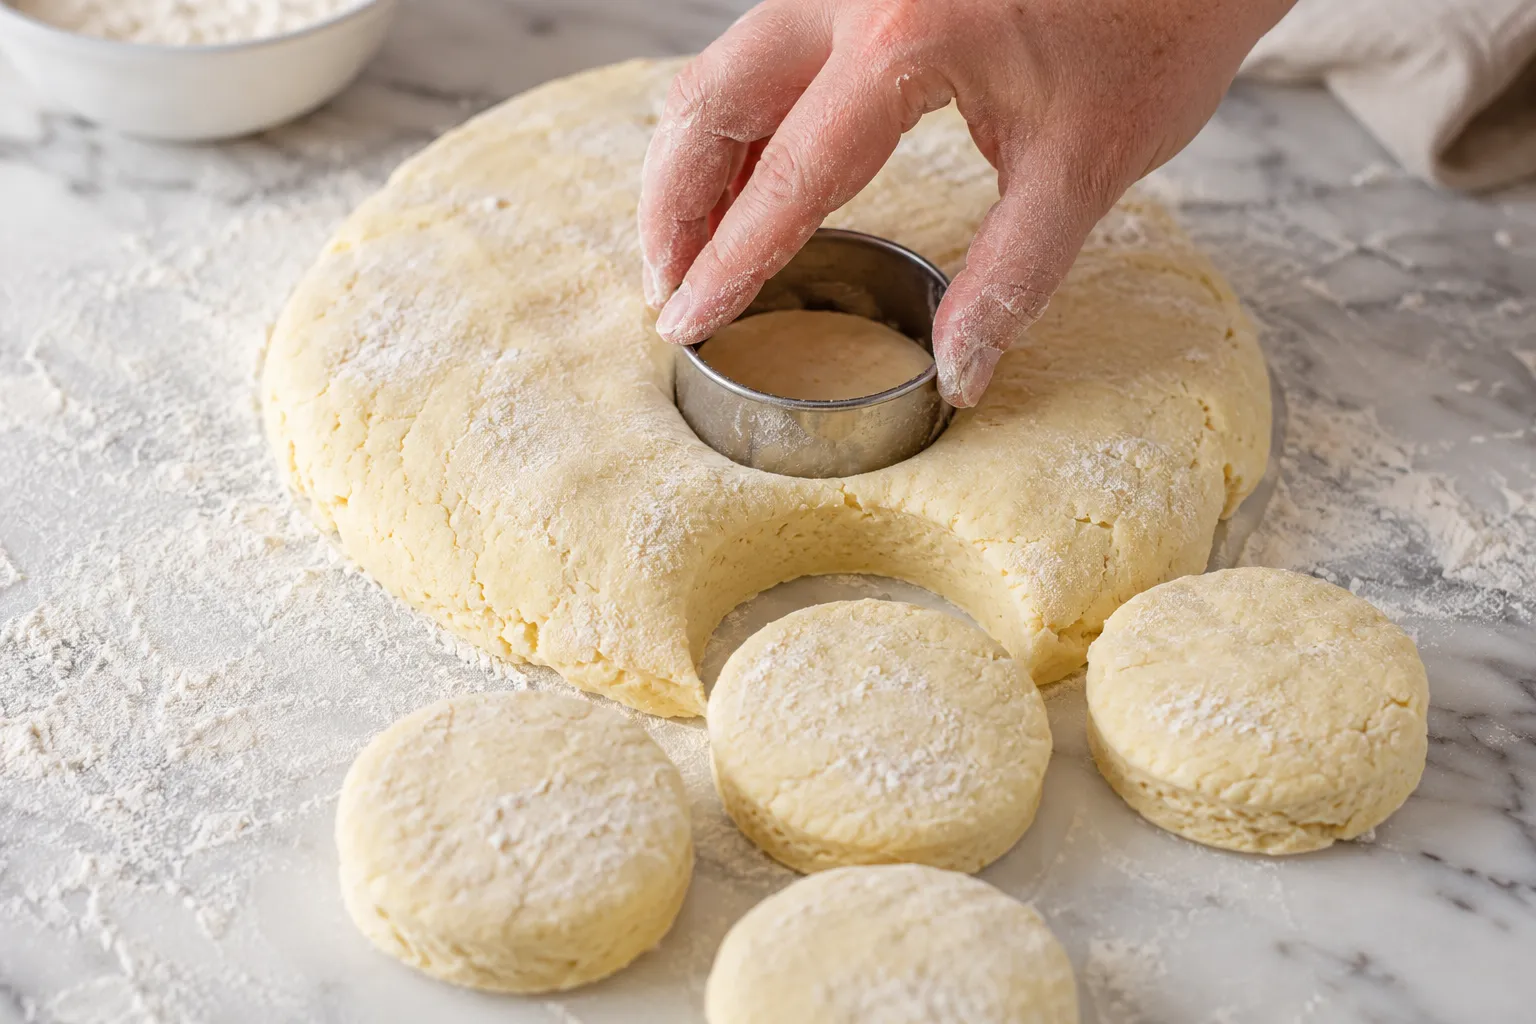 Use a floured cutter to press straight down without twisting.
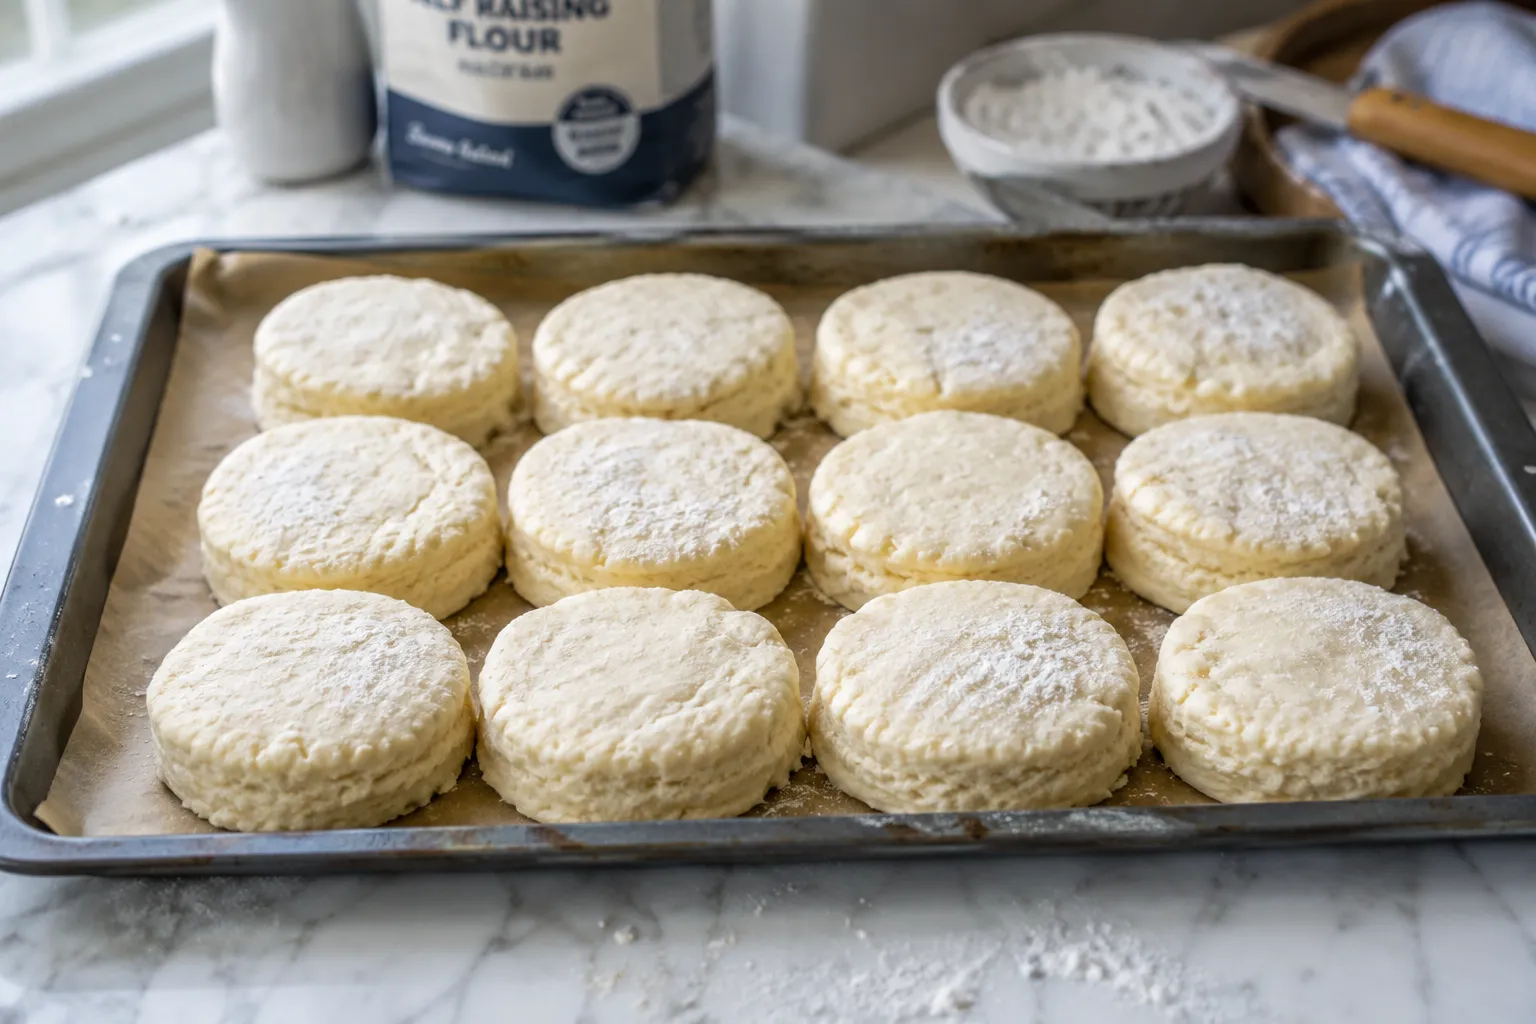
7. Arrange on baking tray
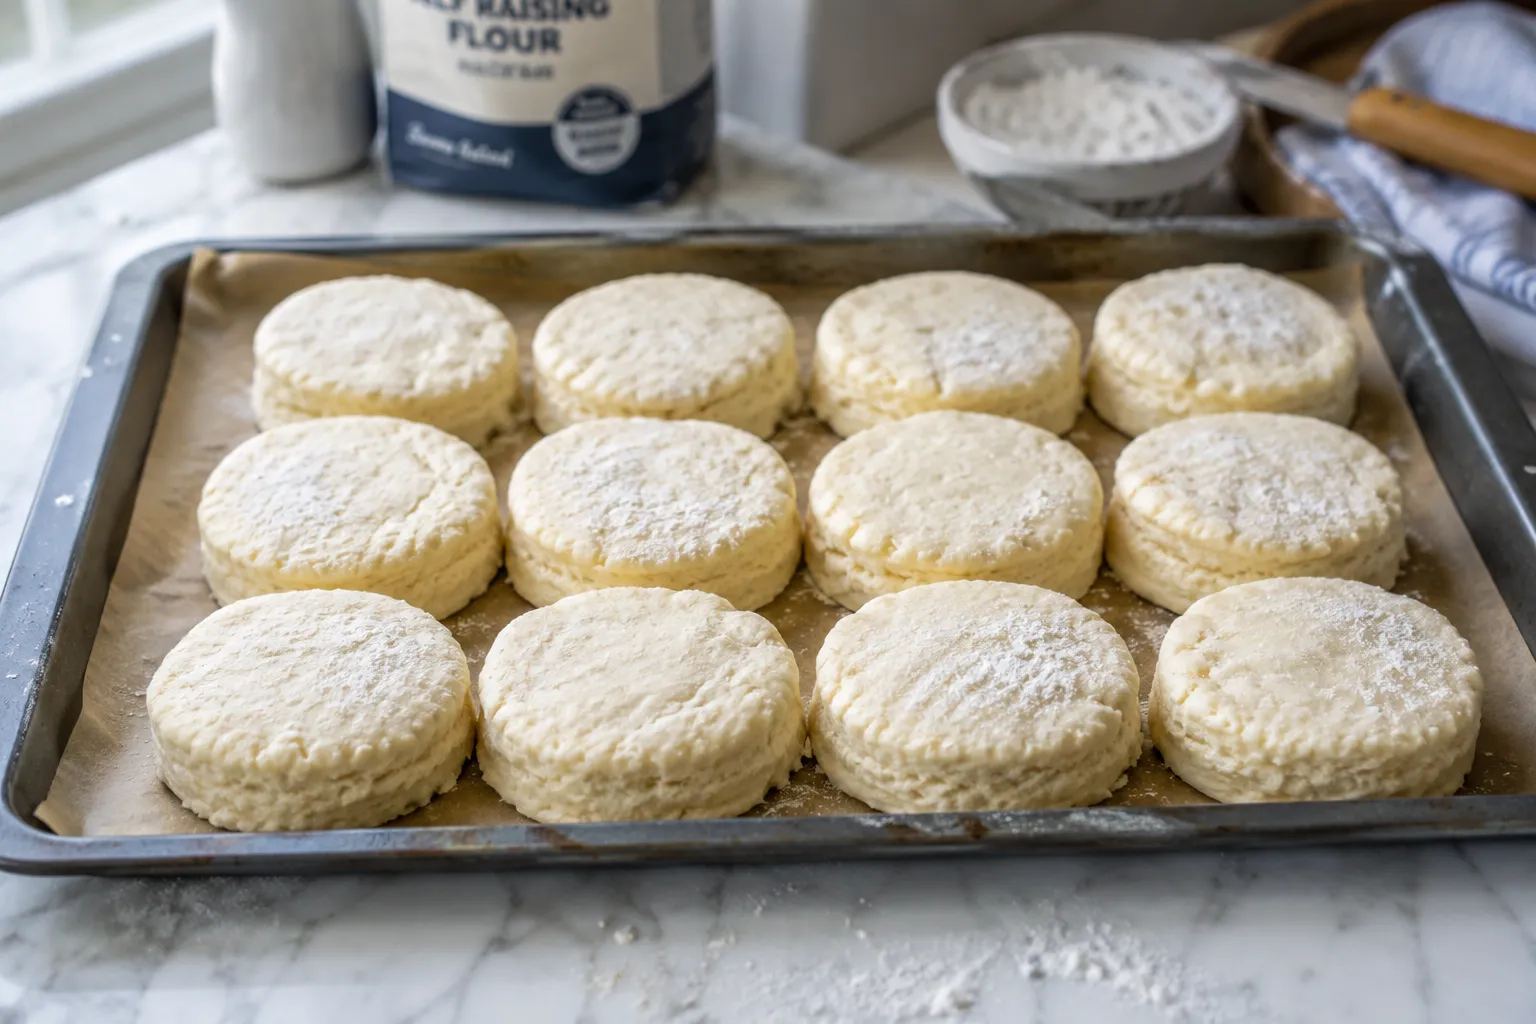 Place rounds close together, almost touching, on a lined baking tray.
8. Brush tops
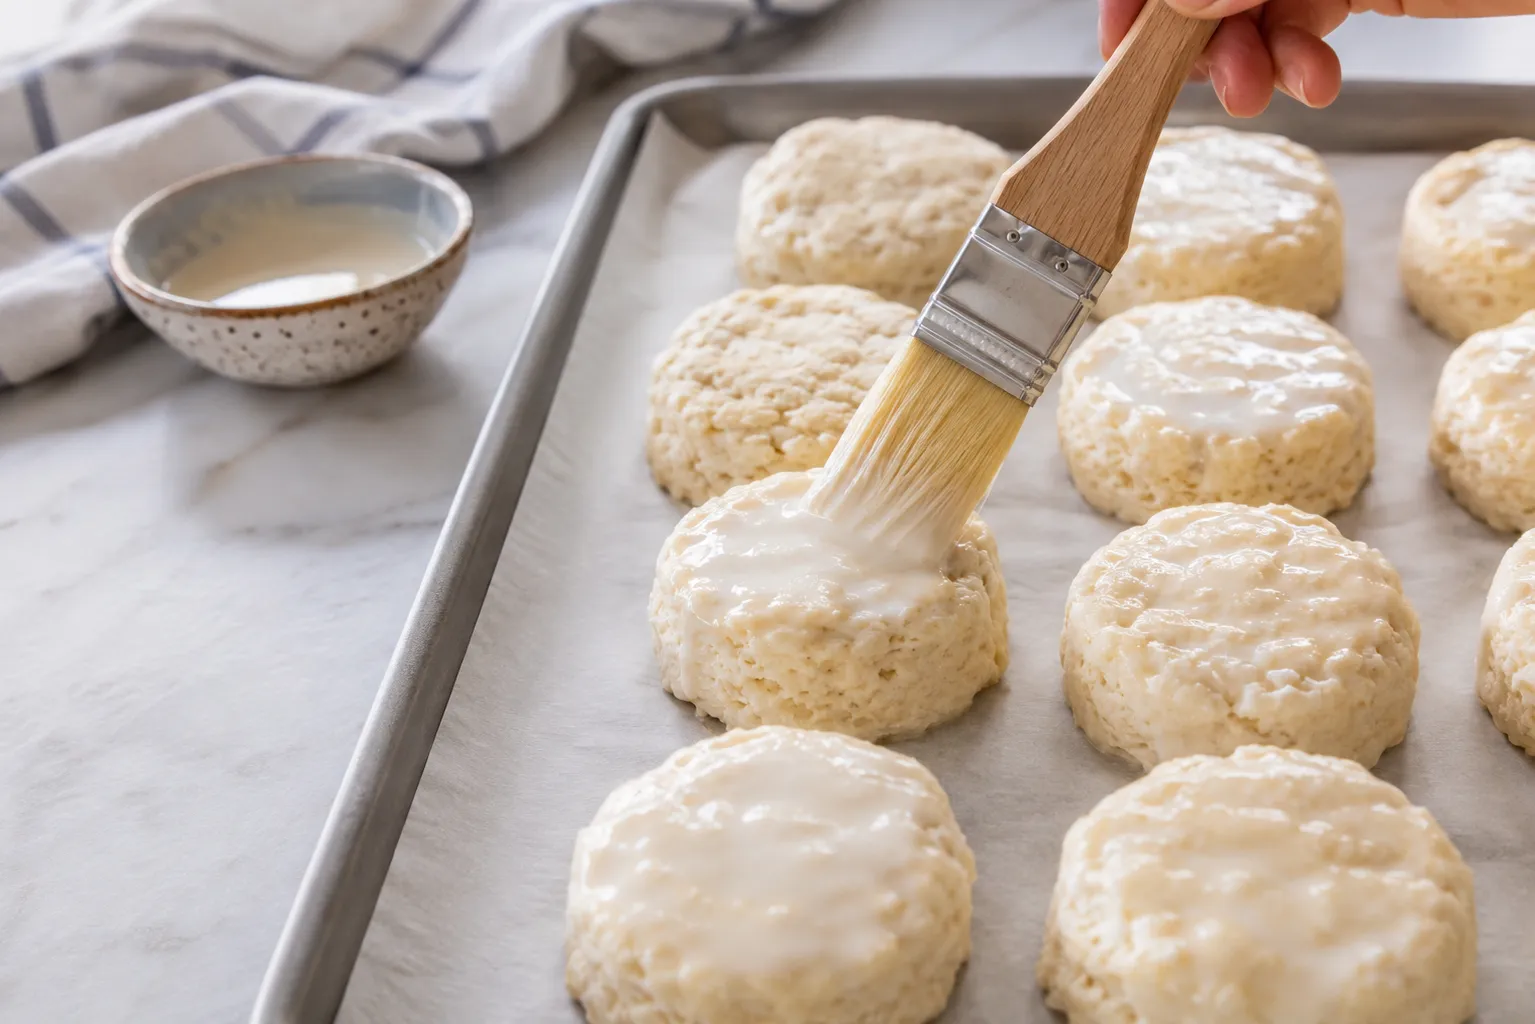 Brush the tops lightly with a little extra cream or milk for a golden finish.
9. Bake
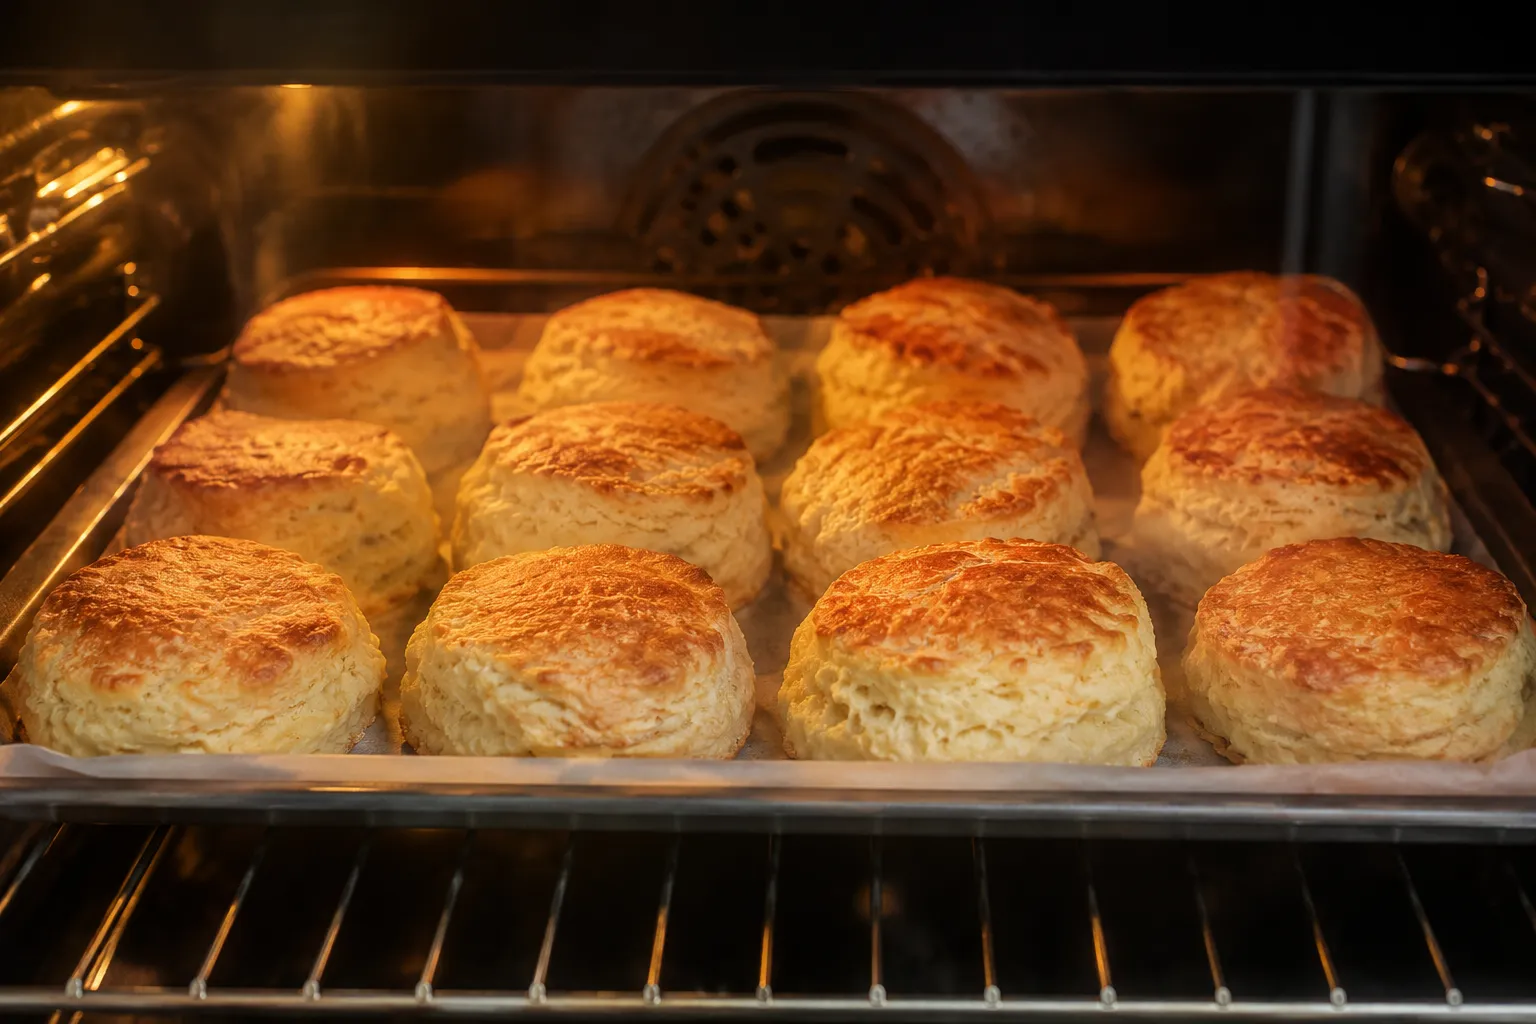 Bake at 220°C (425°F) for 12–15 minutes until tall and golden.
10. Fresh from the oven
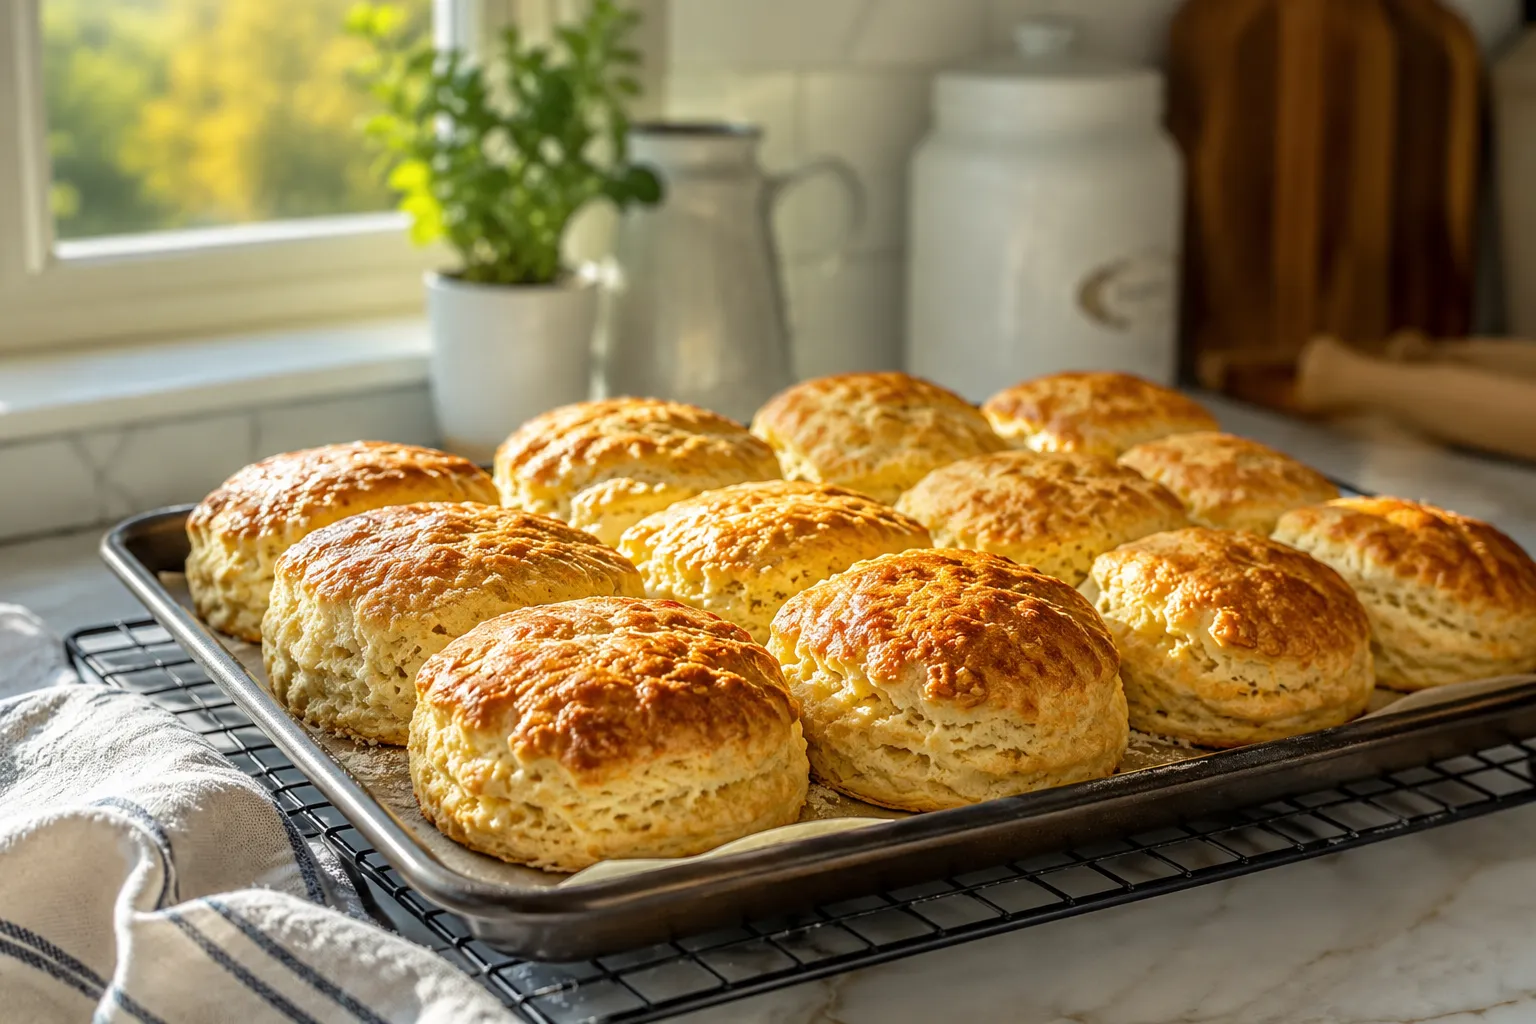 Let them cool slightly on a wire rack before serving.
---
Serving & Storage
Serve warm with plenty of jam and dollop cream.
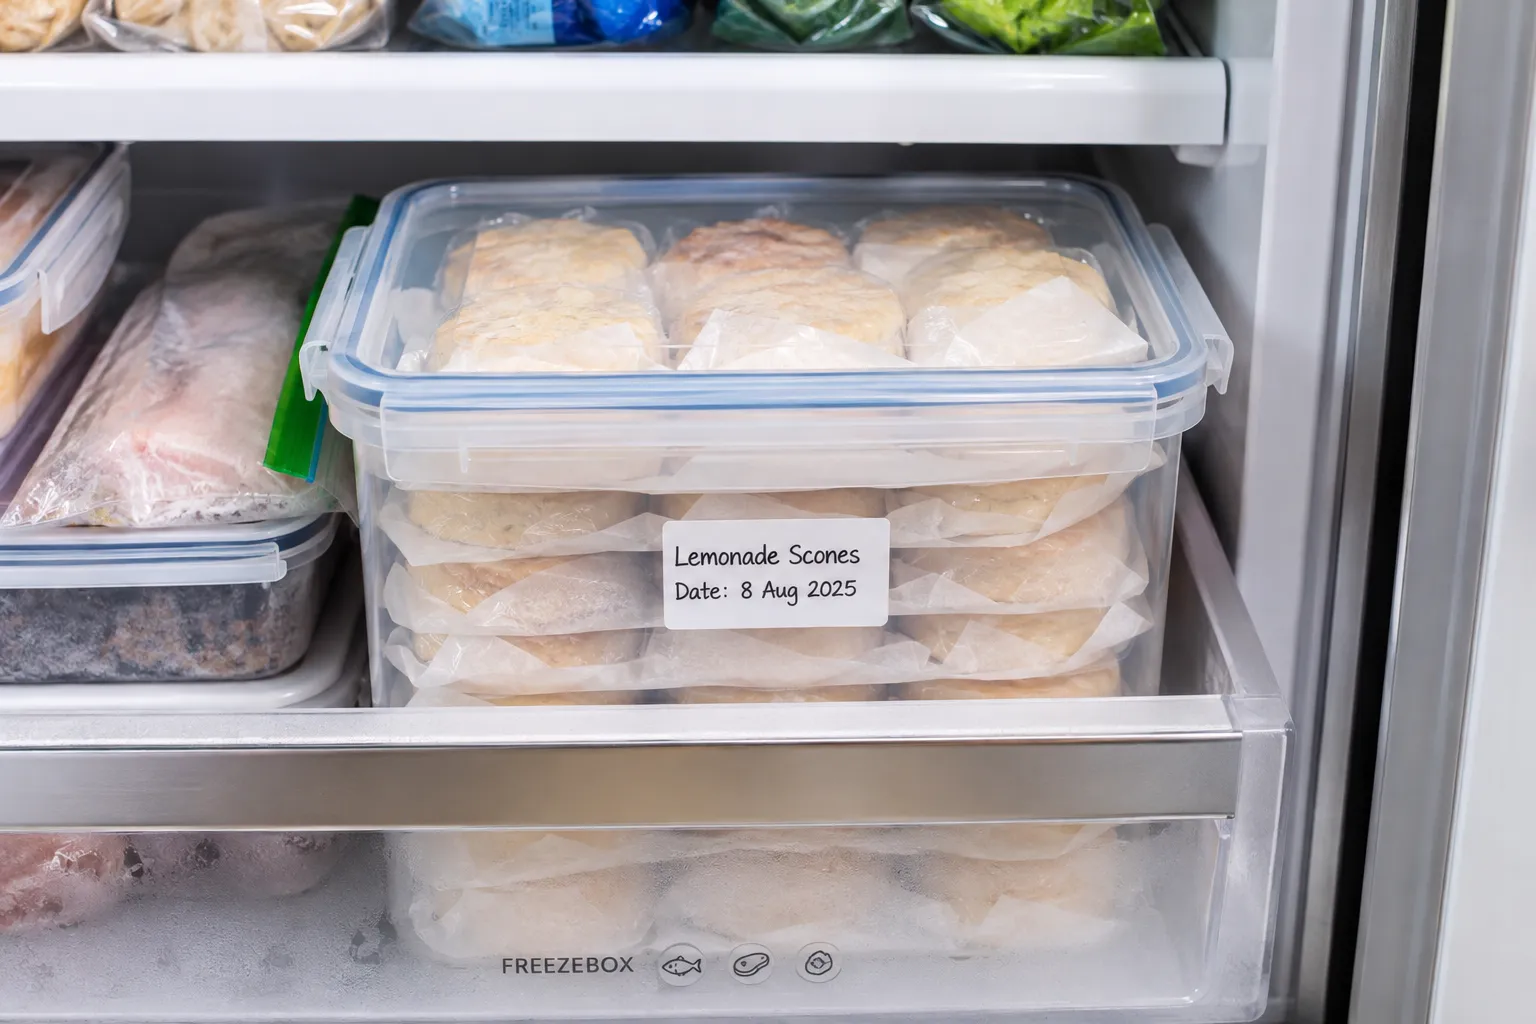
Leftover scones can be frozen in an airtight bag for up to 3 months. Reheat in a warm oven for 5 minutes before serving.
---
Where People Go Wrong
---
Frequently Asked Questions
---
The Scone That Taught Me to Trust Simple Recipes
I've made fussier scones since that first class, ones with cold-cubed butter and careful folding techniques and resting times measured to the minute. Some of them were excellent. None of them came together faster, or with less room for anxiety, than a bowl of flour, a splash of cream, and a glug of fizzy lemonade.
There's something a little humbling about a recipe this simple outperforming ones with ten times the technique behind them. Give it a try this weekend, jam and cream included!