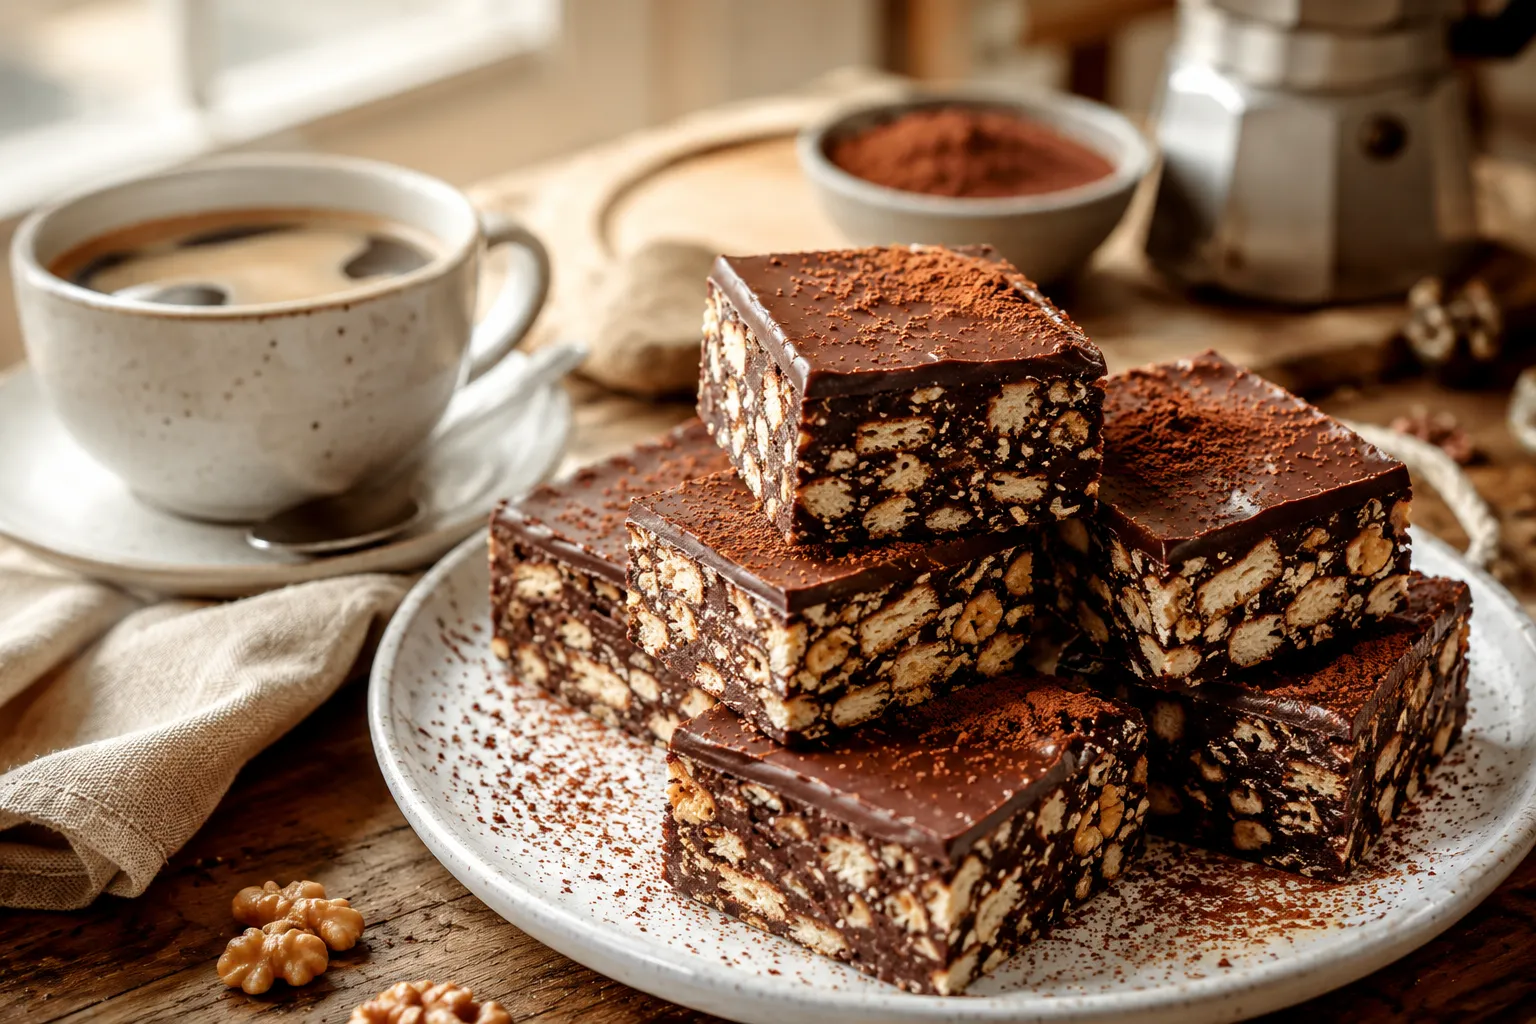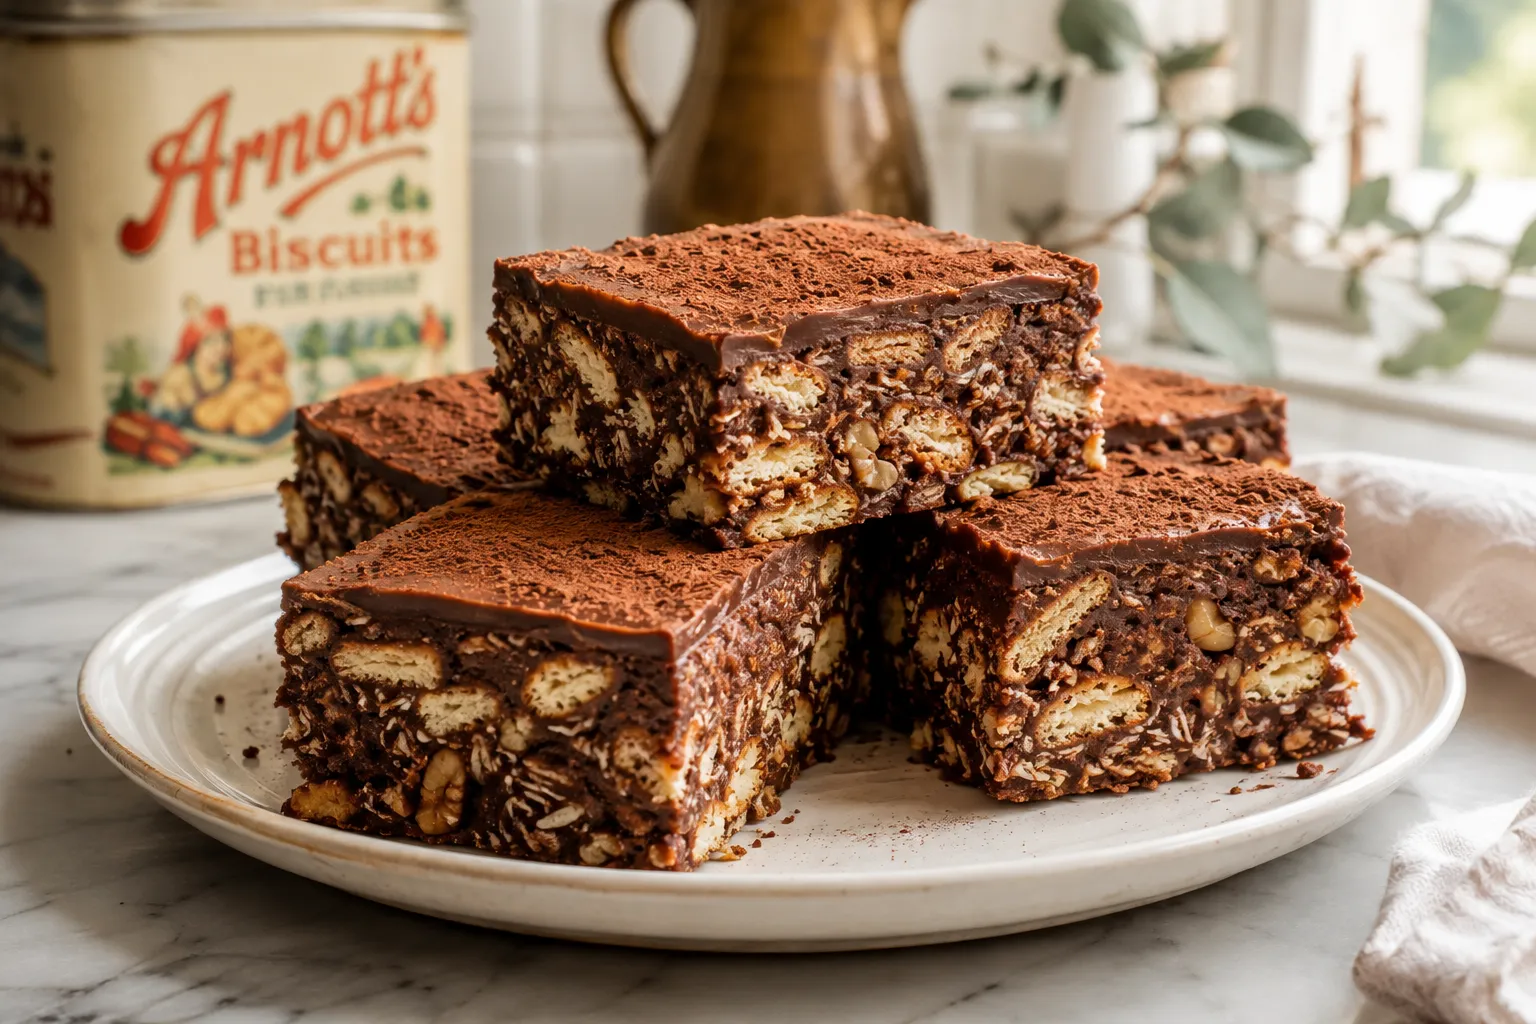
Somewhere in nearly every Australian family, there's a hedgehog slice recipe written on a card that's gone soft and stained at the corners. Nobody remembers exactly whose it was originally. It just gets passed along, tin to tin, until it belongs to everyone.
If you've never made one: hedgehog slice is a no-bake chocolate bar made from crushed biscuits bound together with a melted butter, sugar, and cocoa mixture, pressed into a tin, chilled until firm, then topped with chocolate icing. It's not a brownie. It's not a slice-and-bake cookie. It's somewhere between a fudge bar and a very dense biscuit cake, and once it's set properly, it should hold a clean edge when you cut it.
That "should" is doing a lot of work. Most home versions come out either too soft to slice or so hard you need a mallet. This guide covers the actual mechanics of why that happens, along with the history, the variations worth trying, and the parts nobody tells you until you've already ruined a batch.
Where Hedgehog Slice Actually Comes From
The name suggests spikes, and that's roughly the idea — the jagged, uneven fragments of crushed biscuit poking through the dark chocolate are meant to resemble a hedgehog's quills. Which is a little funny, because Australia doesn't have hedgehogs. The name is borrowed imagery, not local wildlife.
The dessert itself traces back further than most people assume. It's generally understood to descend from chocolate salami, a confection that emerged in the early twentieth century and itself grew out of nineteenth-century "fake sausage" style sweets. The more direct ancestor is a German dessert called Kalter Hund, or "cold dog" — a recipe from the 1920s, often linked to the Bahlsen baking company, which combined melted chocolate with packaged biscuits in a rectangular pan.
How that became an Australian bake-sale staple isn't fully documented, but the earliest known Australian recipe appeared in the Sunraysia Daily in Mildura in June 1937, and versions of it have shown up in community cookbooks and church fundraiser recipe books ever since. It's been around long enough that most Australians can't tell you where their family's version came from — it was just always in the tin.
What's Actually In It
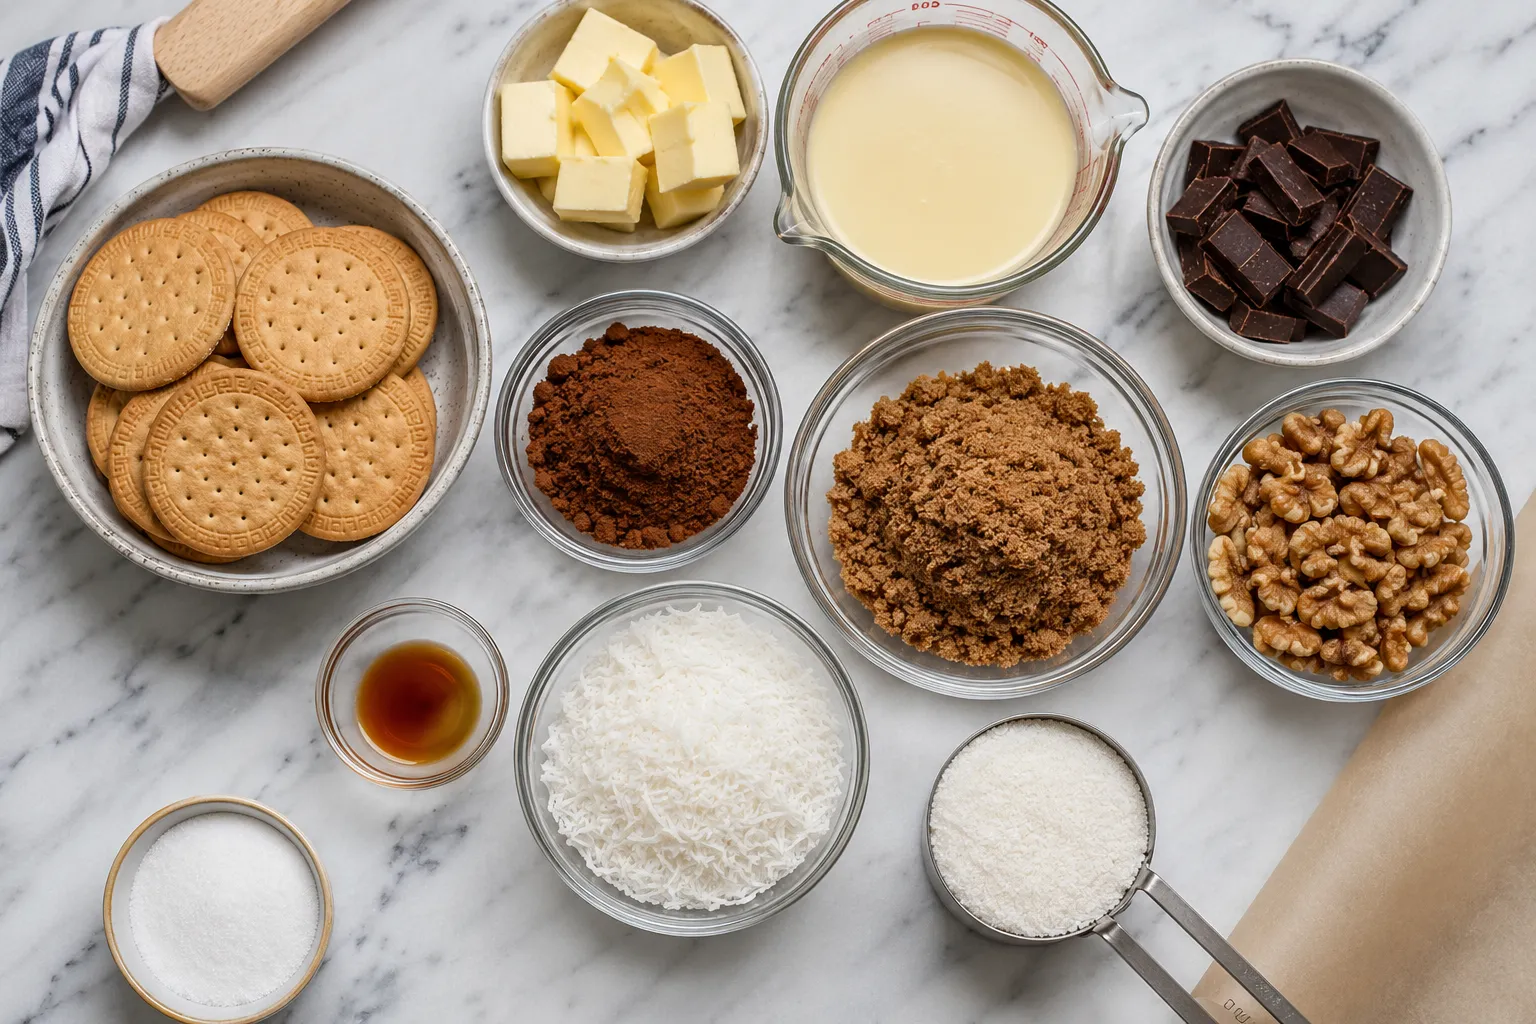
Ignore the ten-ingredient versions with marshmallow and coconut cream for a second. The bones of a traditional hedgehog slice are simple:
That's it. No baking, no flour, no leavening. The entire structure of the slice depends on the fat-to-biscuit ratio setting correctly in the fridge, which is exactly why so many people get inconsistent results — this is a chemistry problem disguised as a five-ingredient recipe.
The Biscuit Question
Traditional Arnott's Marie or Milk Arrowroot biscuits are considered close to the gold standard here, and there's a real reason beyond nostalgia: they're crumbly enough to crush unevenly (which gives you that spiky texture) but sturdy enough not to dissolve into dust. Morning Coffee, Malt O'Milk, and Scotch Finger biscuits all work as substitutes, and outside Australia, Digestives or any plain, not-too-sweet biscuit will do the job.
What doesn't work well: anything too soft or too sweet on its own (like a shortbread), which throws off the sugar balance, or anything that turns to powder the moment you crush it, which leaves you with a flat, dense bar instead of one with texture and bite.
The Condensed Milk Debate
This is where hedgehog slice quietly splits into two camps. Older, pre-war style recipes use butter, sugar, cocoa, and egg as the binder. Newer versions lean on condensed milk instead, which is faster and more forgiving but changes the texture — condensed-milk versions tend to be softer and fudgier, while the egg-and-sugar method sets firmer and holds a cleaner slice.
Neither is "wrong." But if your slice keeps turning out too soft to cut properly, condensed milk is often the culprit — it's harder to get the ratio right without a kitchen scale, and it's easy to overdo.
Why Your Slice Won't Set (The Part Nobody Explains)
This is the single most common complaint with hedgehog slice, and it comes down to one of three things almost every time.
1. You didn't compress it hard enough. After pressing the mixture into the tin, it needs to be pushed down firmly and evenly — with the back of a spoon, a flat glass, or your hands over baking paper. Air pockets and uneven pressure are why some slices crumble on one side and hold together on the other. 2. You didn't chill it long enough. A few hours in the fridge is the minimum, not the target. Overnight is safer, especially with a butter-and-sugar-based mixture rather than condensed milk, since it takes longer for the fat to fully firm up. 3. Your fat-to-dry ratio was off. Too much melted butter relative to biscuit, and it never sets past "soft enough to smear." Too little, and it's dry and falls apart when sliced. If you're adjusting a recipe — say, doubling it, or swapping biscuit brands — weigh your ingredients rather than eyeballing them. Biscuit density varies enough between brands that a cup measurement isn't reliable.
Variations Worth Trying
Once you understand the base mechanics, the variations mostly take care of themselves.
One line worth being honest about: not every "hedgehog slice" recipe floating around online is actually a hedgehog slice. Some baking communities push back hard on versions that add marshmallow or skip the coconut and walnuts, arguing that changes it into a different slice entirely wearing the same name. There's no governing body enforcing this, obviously, but if you want the traditional flavour and texture, stick close to the biscuit-butter-cocoa-nut formula rather than the marshmallow-heavy internet variants.
Step-by-Step Method
1. Crush the biscuits unevenly
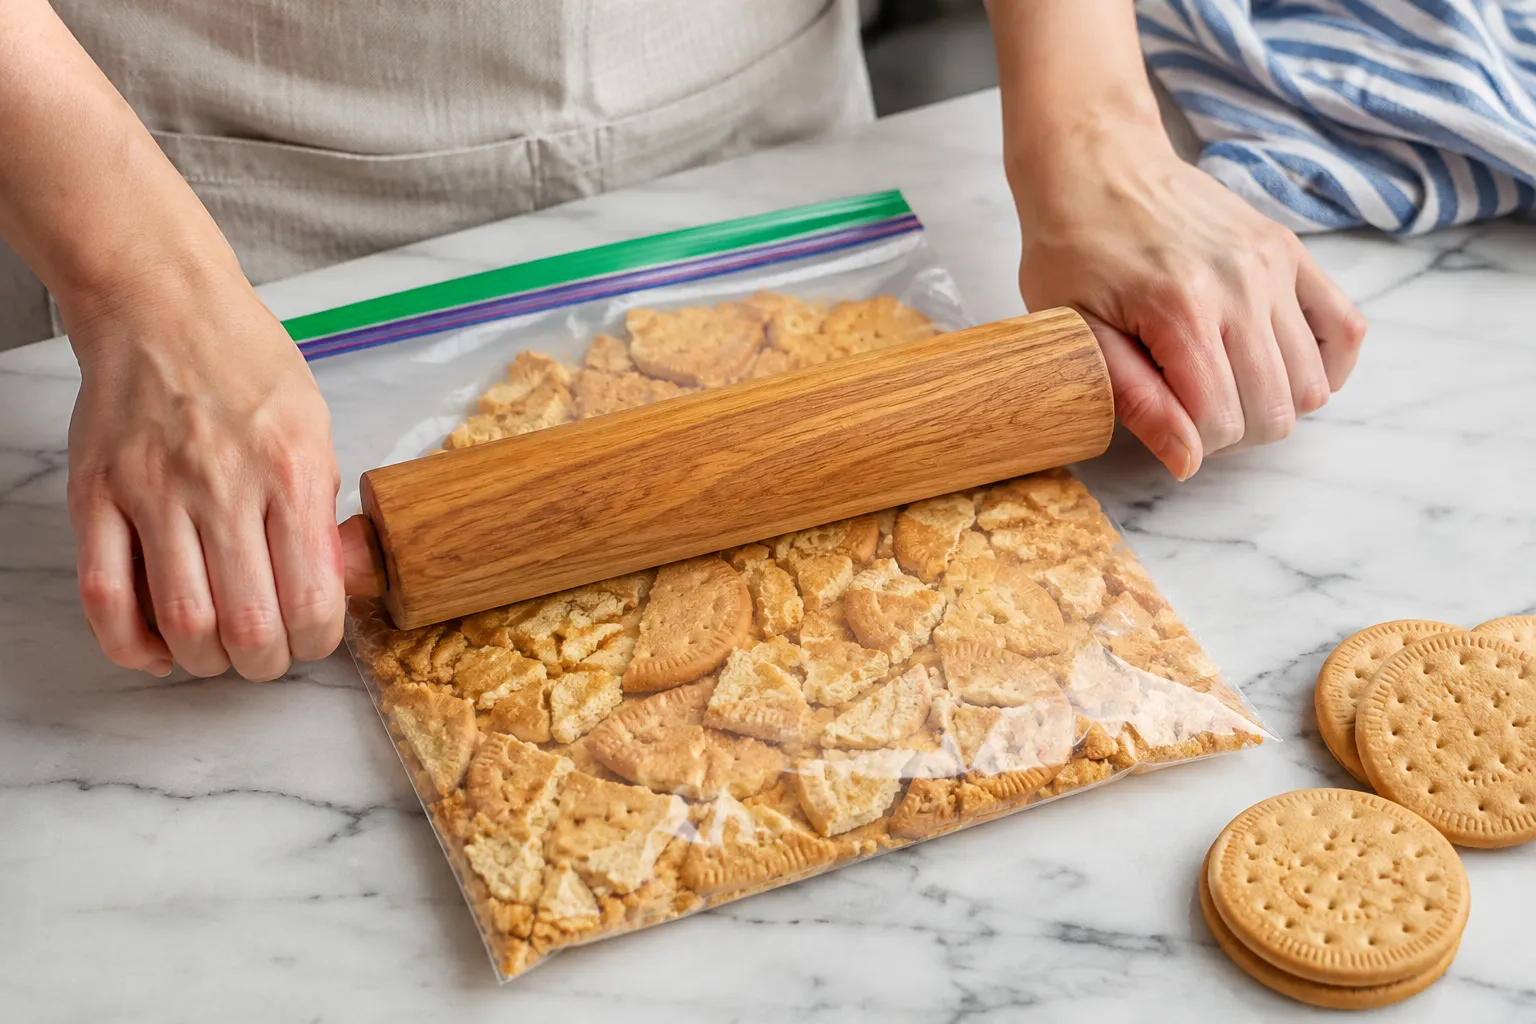 You want a mix of fine crumbs and small chunks, not uniform dust. A rolling pin over a sealed bag gives better texture control than a food processor.
2. Melt the binder
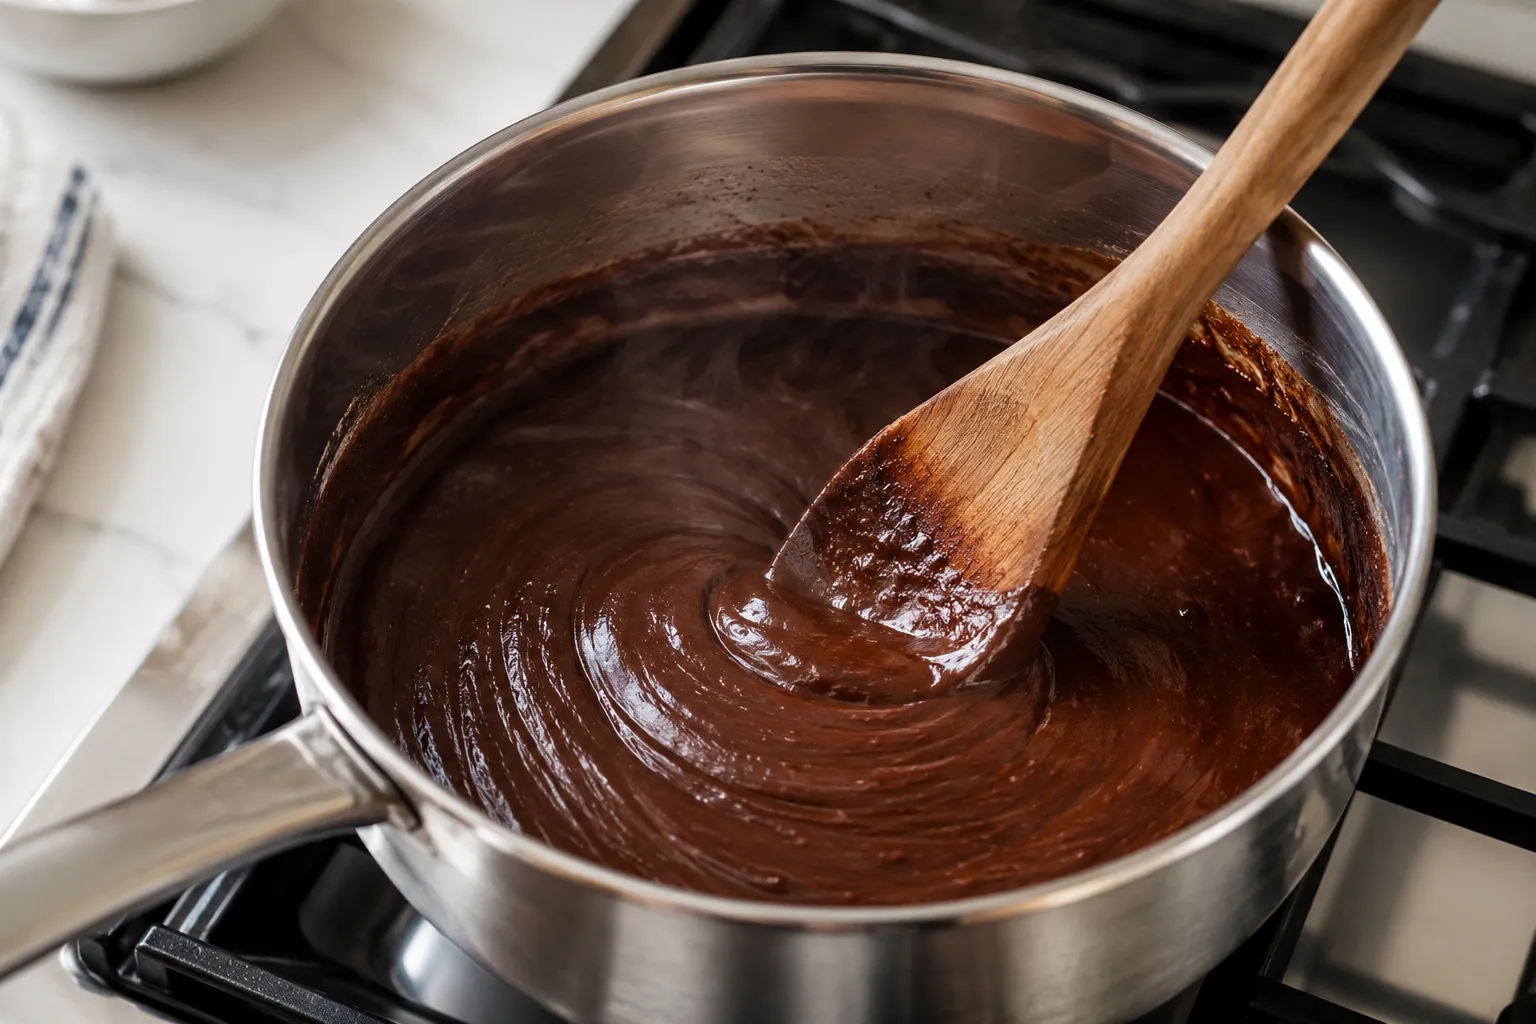 Butter, sugar, and cocoa melted gently over low heat, stirred until smooth. If using egg, keep the heat low and stir constantly so it cooks through without scrambling.
3. Combine
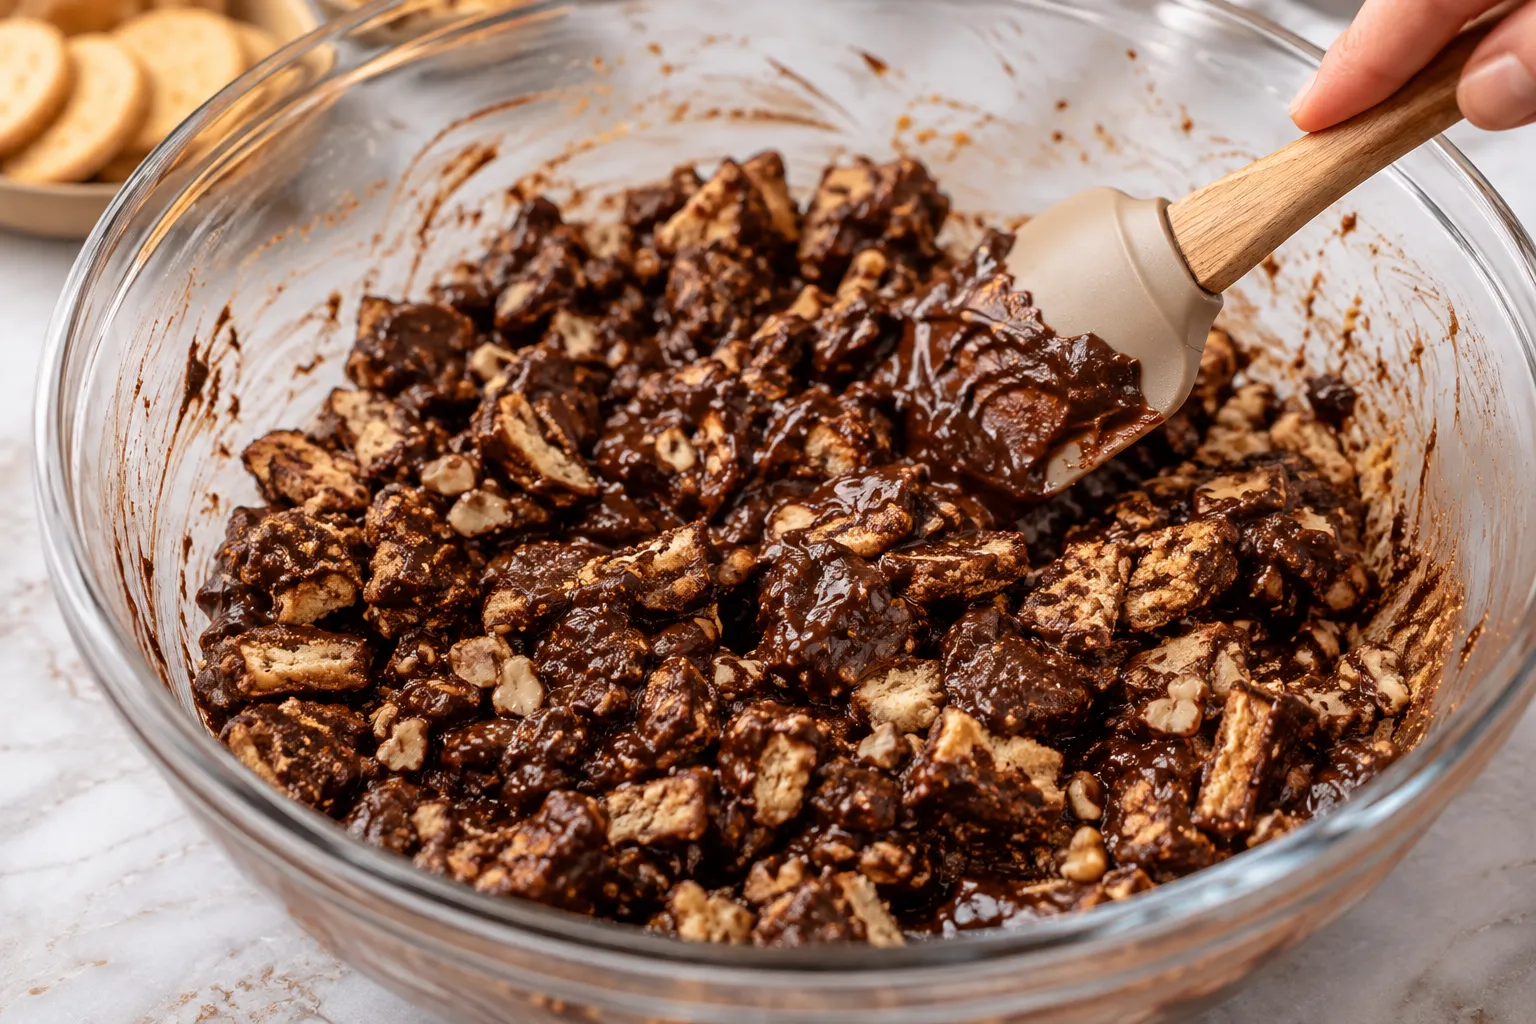 Fold the crushed biscuit and chopped nuts through the warm chocolate mixture until every piece is coated. It should look thick and glossy.
4. Press into a lined tin
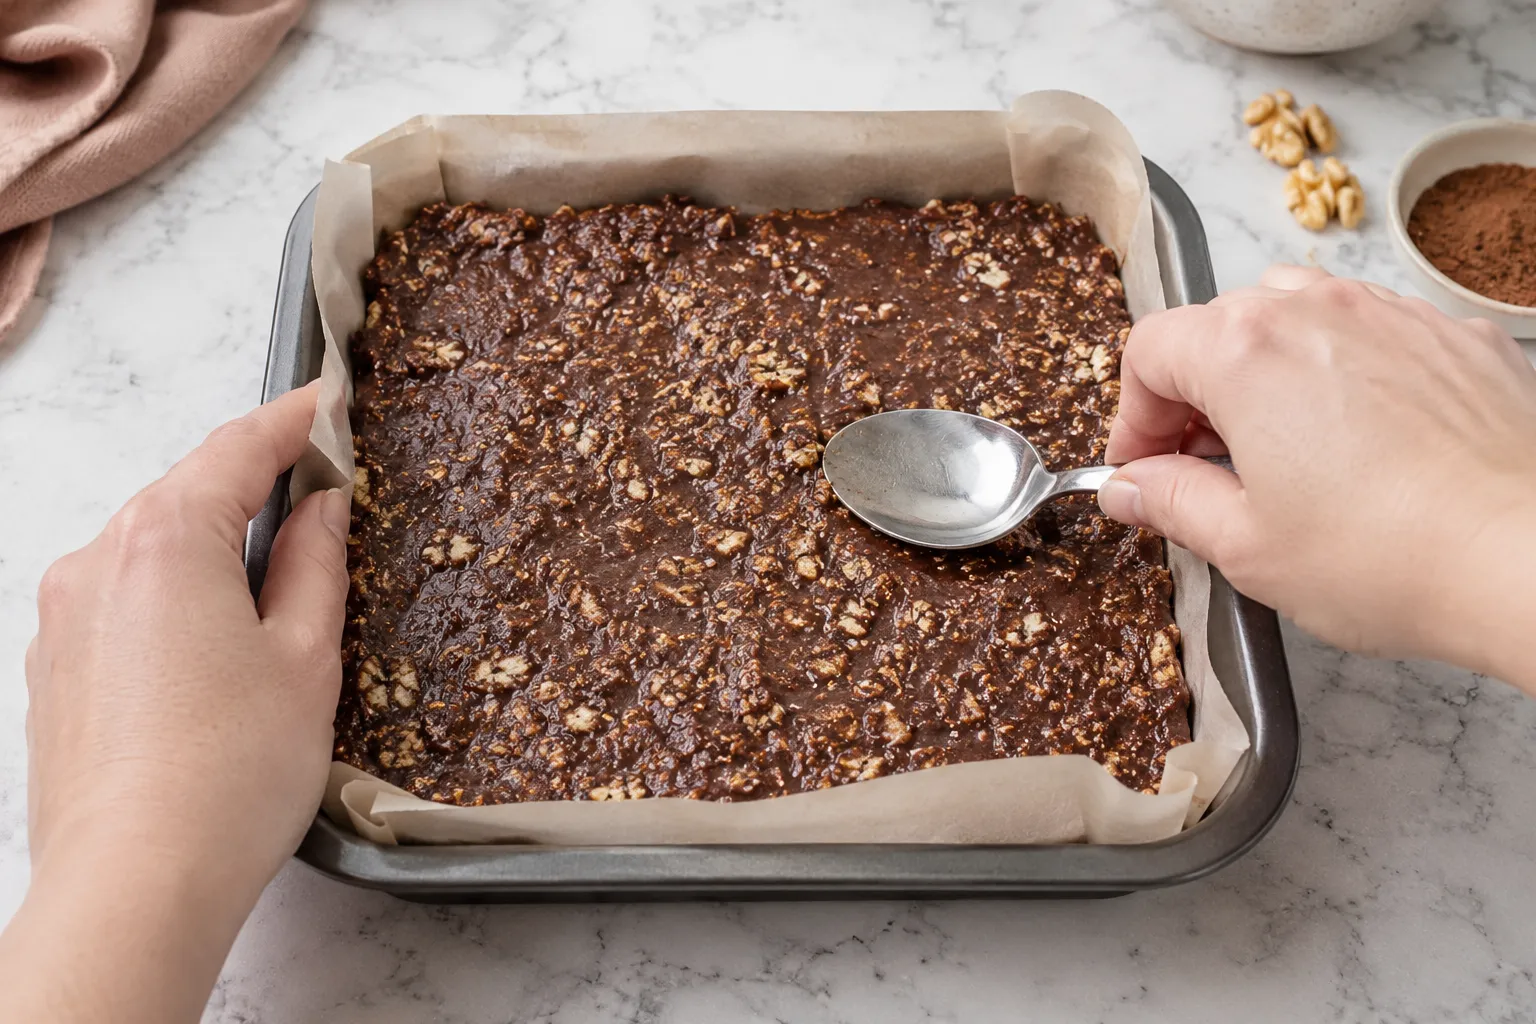 Firmly and evenly — this step matters more than any ingredient choice.
5. Chill
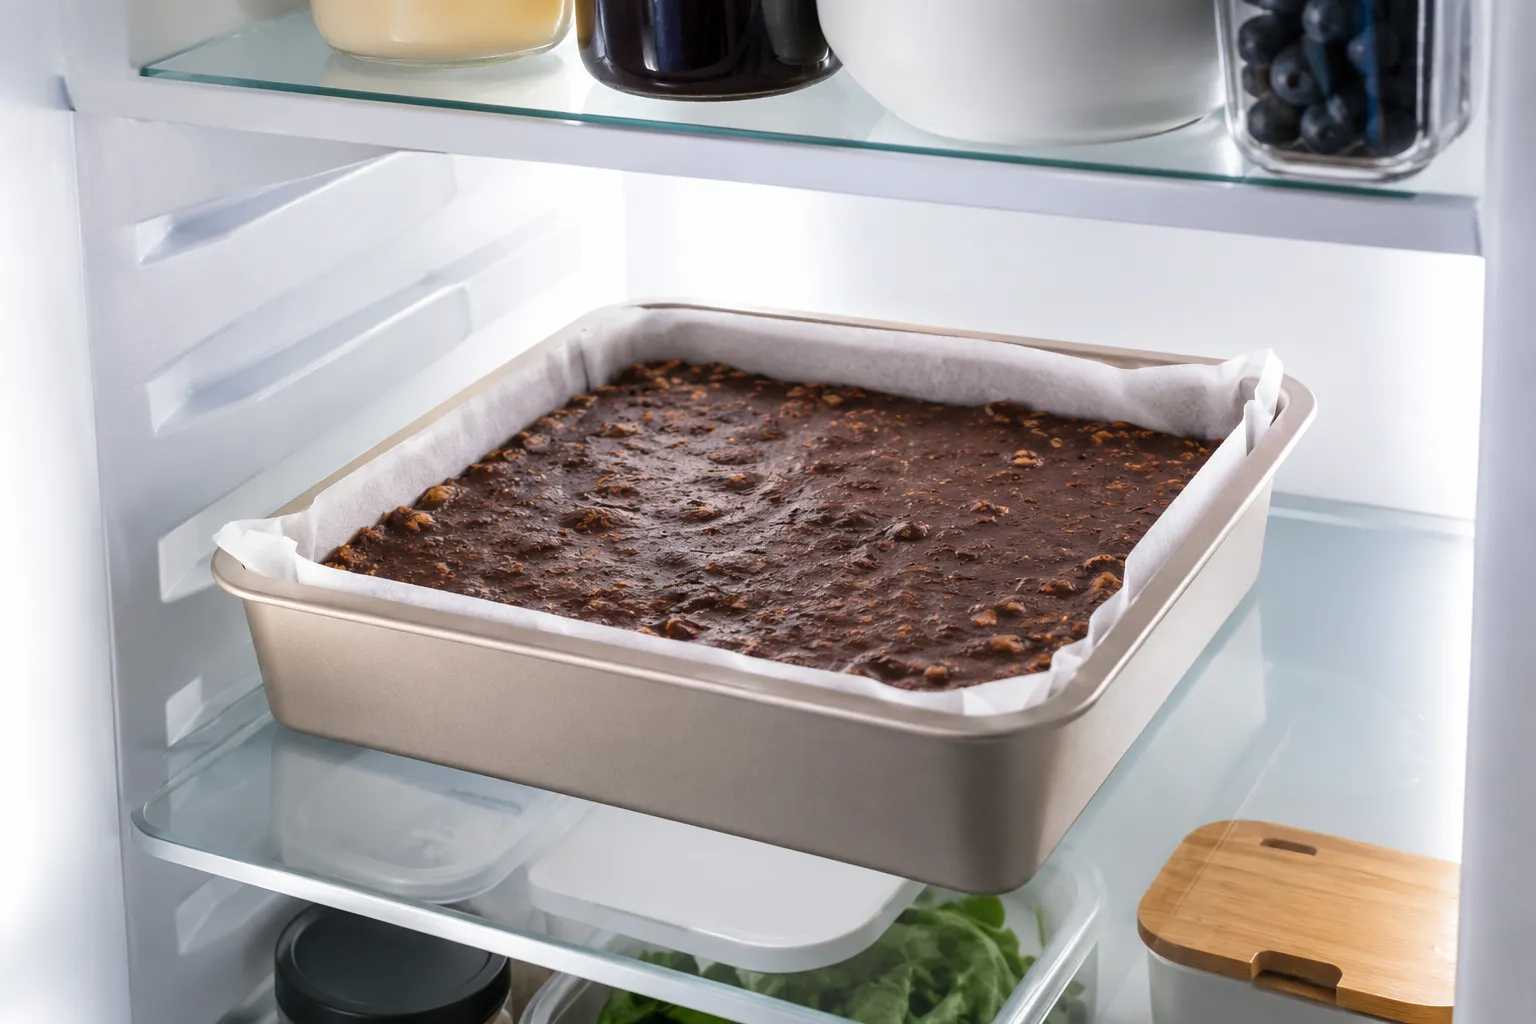 Minimum 3–4 hours; overnight is better.
6. Ice
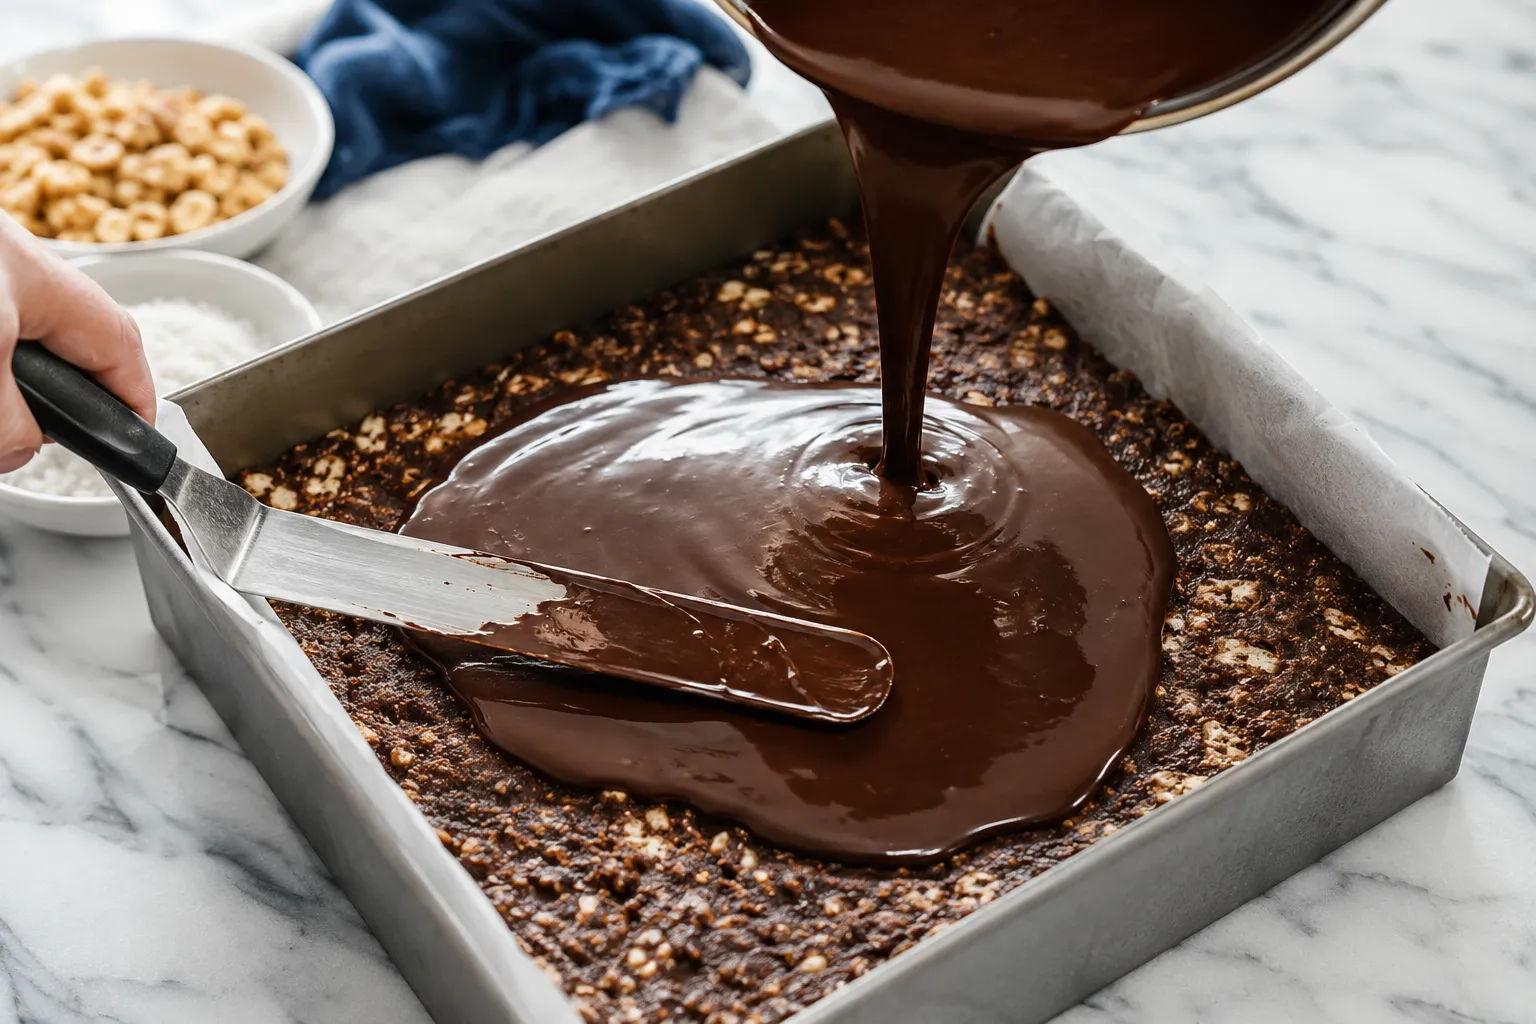 Melt chocolate for the topping, spread evenly, and return to the fridge until set before slicing.
7. Cut
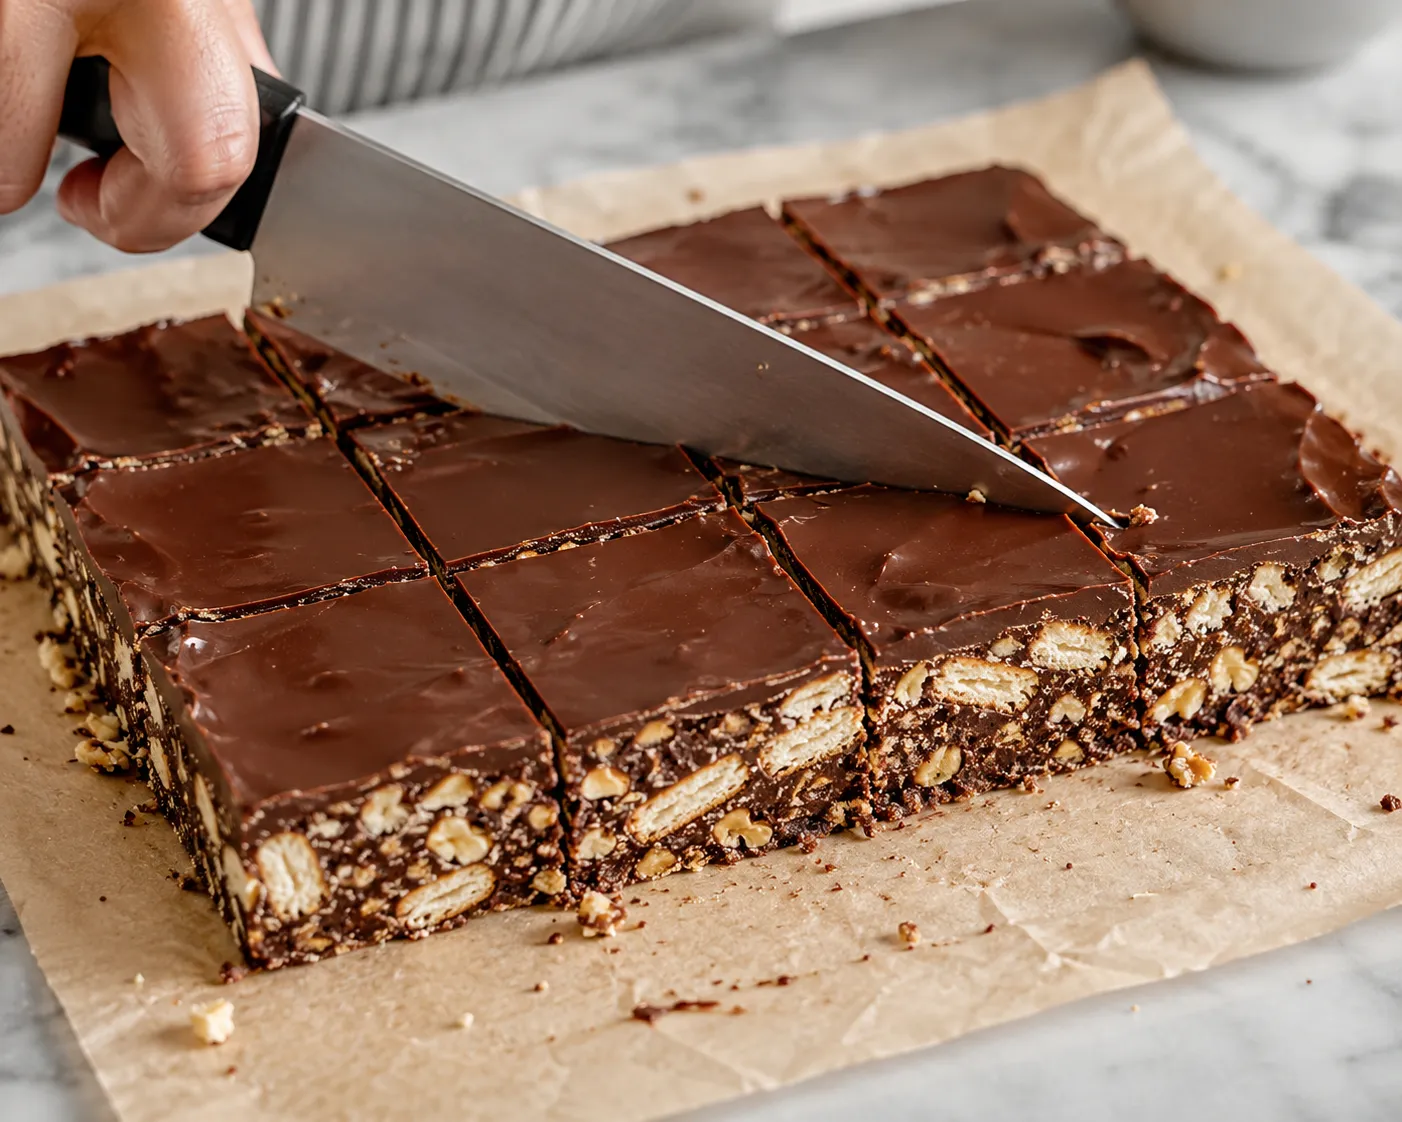 Cut with a warm, dry knife for clean edges.
Storage and Freezing
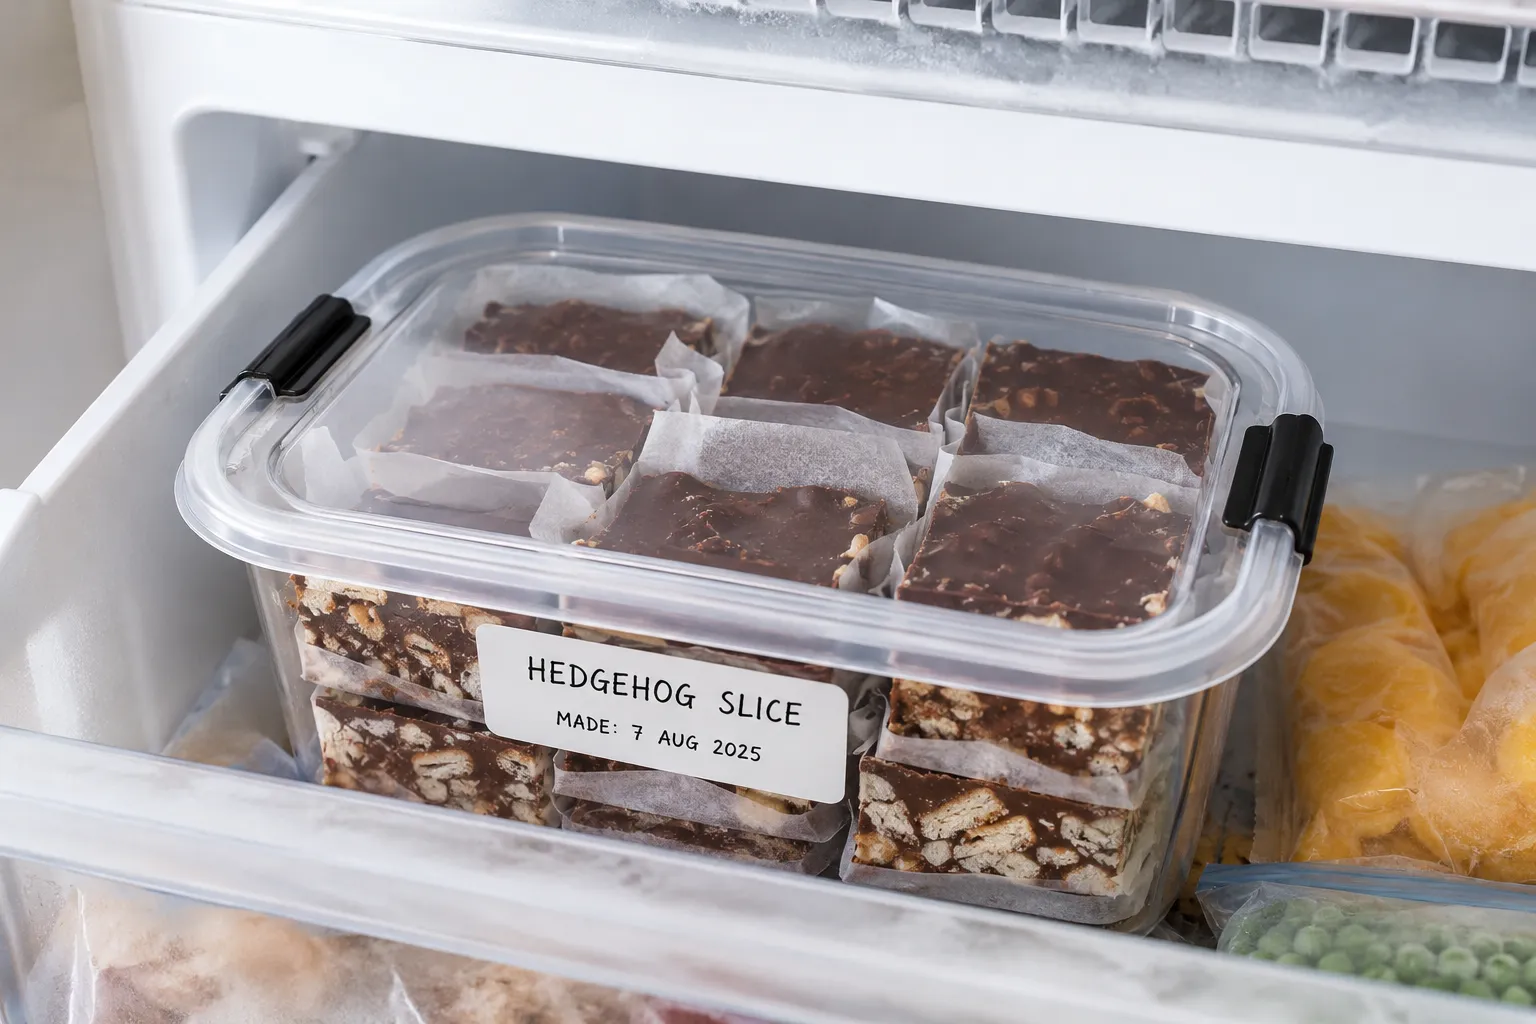 Hedgehog slice freezes wonderfully. Cut it up first, place layers of baking paper between the slices, and store in an airtight container for up to 3 months.
Frequently Asked Questions
The Bottom Line
Hedgehog slice earns its place in Australian kitchens because it asks so little and delivers so consistently — no oven, no complicated technique, just ratios that need respecting and a fridge that needs patience. Get the biscuit-to-fat balance right, compress it properly, and give it the time it needs to set, and you'll end up with something better than most bakery versions.
If your last attempt turned out too soft or too crumbly, it wasn't the recipe. It was almost certainly one of the three things above — pressure, chilling time, or ratio. Fix that, and the rest of it takes care of itself.