
If you've spent any time in an Australian or New Zealand kitchen, you've met lemon slice. It sits on cake stands at school fundraisers, shows up in lunchboxes, and gets requested at every family gathering by someone's uncle who insists his grandmother's version is unbeatable. It's a biscuit base, a tangy lemon icing, and almost no active cooking involved. That simplicity is exactly why it's survived decades of trendier desserts.
This guide covers what lemon slice actually is, how to make it properly, where people go wrong, and how to adapt it if you want to put your own stamp on it.
What Is Lemon Slice, Exactly?
Lemon slice is a traybake made from a crushed-biscuit base bound together with condensed milk and melted butter, then topped with a lemon-flavored icing once it's set. Unlike a lemon bar, which is baked with a shortbread crust and a cooked lemon curd filling, classic lemon slice usually involves little or no oven time. The base firms up in the fridge, and the icing sets on top.
It belongs to a broader family of "slices" — a term used in Australia and New Zealand for traybakes cut into squares or bars, distinct from cakes or biscuits on their own. Other members of that family include caramel slice, weet-bix slice, and vanilla slice. Lemon slice is one of the simplest and most forgiving of the group, which is part of why it's such a common starting point for new bakers.
The Classic Base: What You're Actually Working With
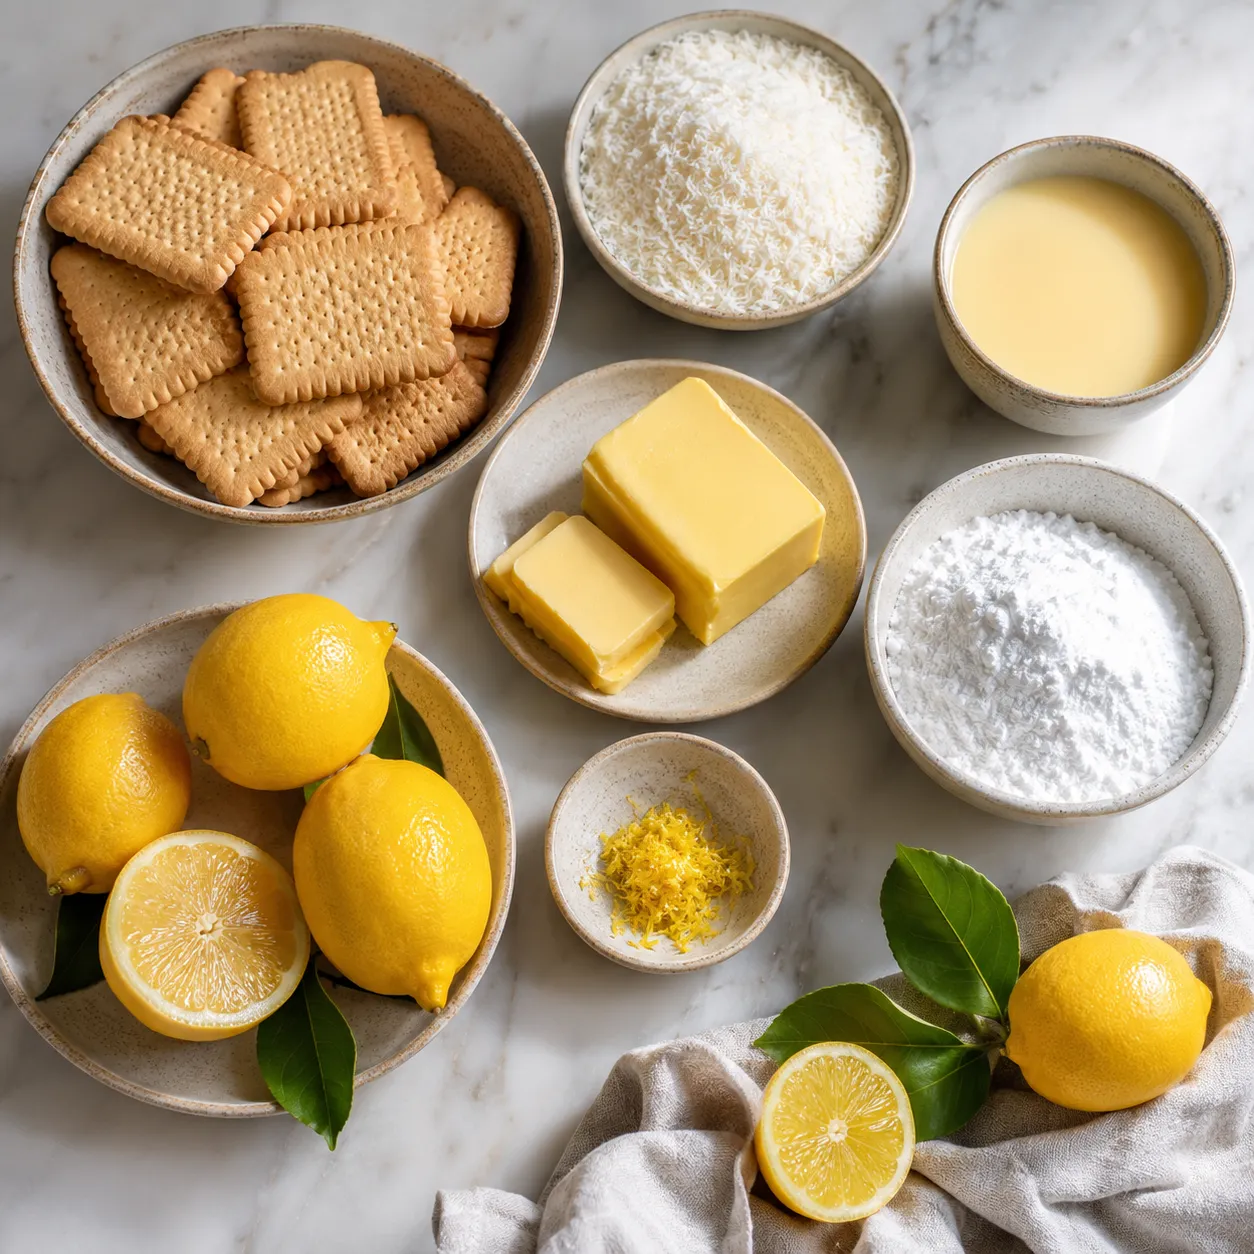
The traditional base combines:
The biscuits provide structure, the coconut adds texture and a bit of chew, and the condensed milk and butter bind everything into something firm enough to slice cleanly once chilled. There's no leavening and no egg — it's closer to assembly than baking.
The icing on top is typically icing sugar, softened butter, lemon juice, and lemon zest, sometimes with a splash of milk to loosen the consistency. Some versions skip the butter in the icing and just use icing sugar and lemon juice for a thinner, more translucent glaze.
A Straightforward Recipe
#### Base:
#### Icing:
---
Step-by-Step Method
1. Line the tin
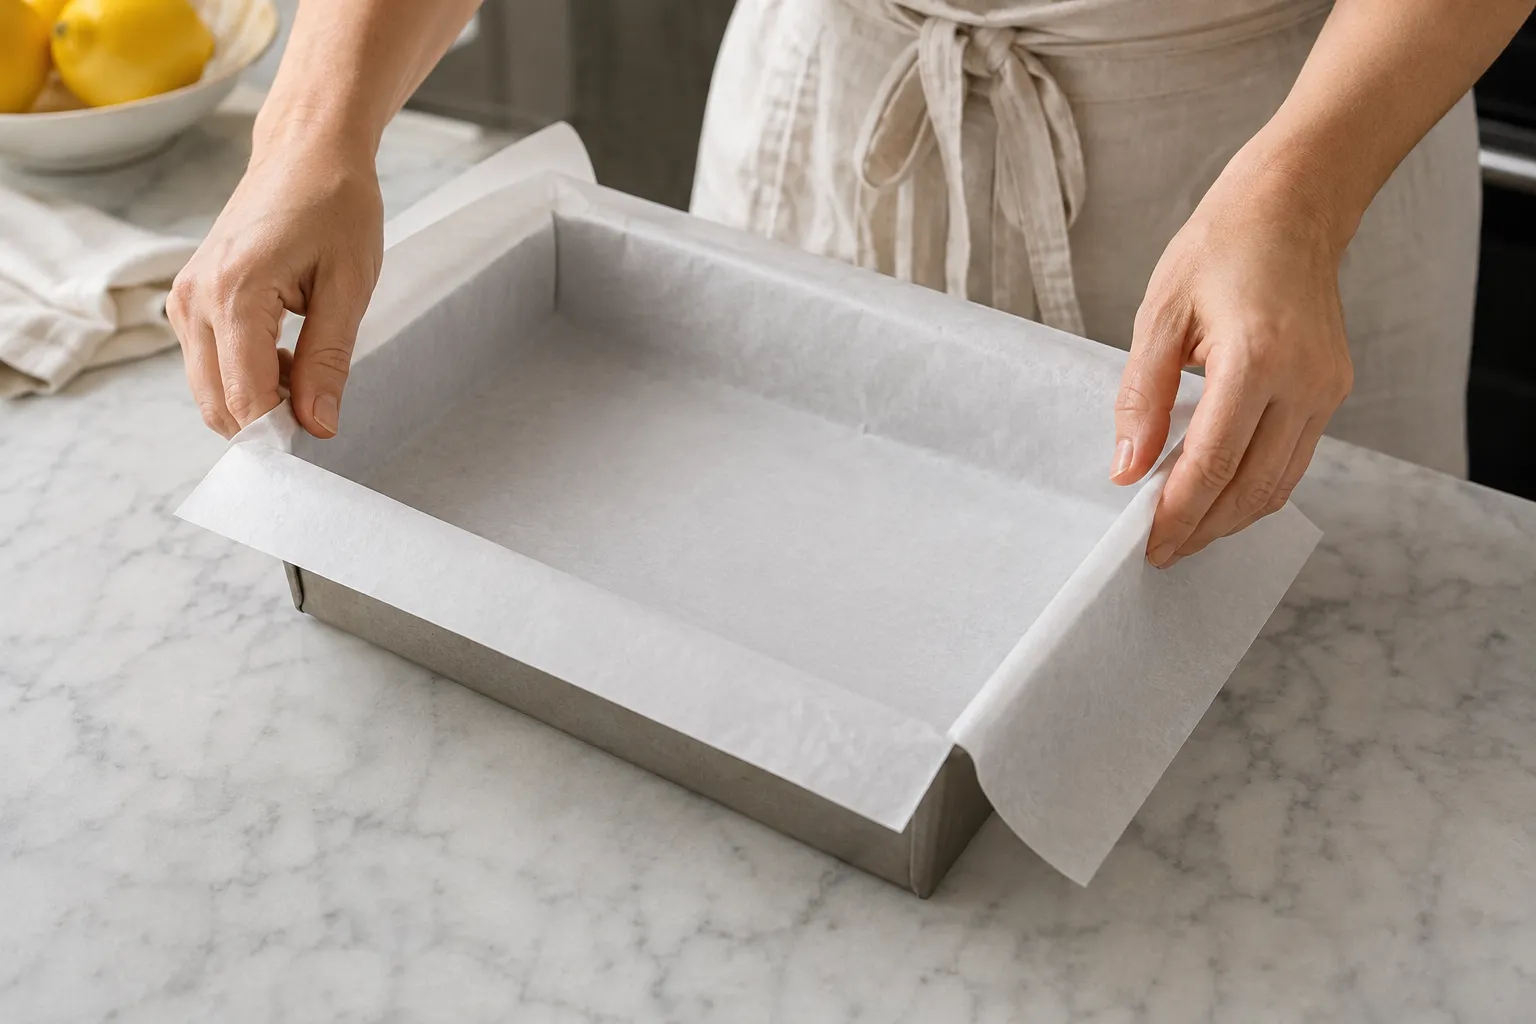 Line a rectangular slice tin (roughly 20cm x 30cm) with baking paper, leaving overhang on the long sides so you can lift the whole slice out later.
2. Combine dry ingredients
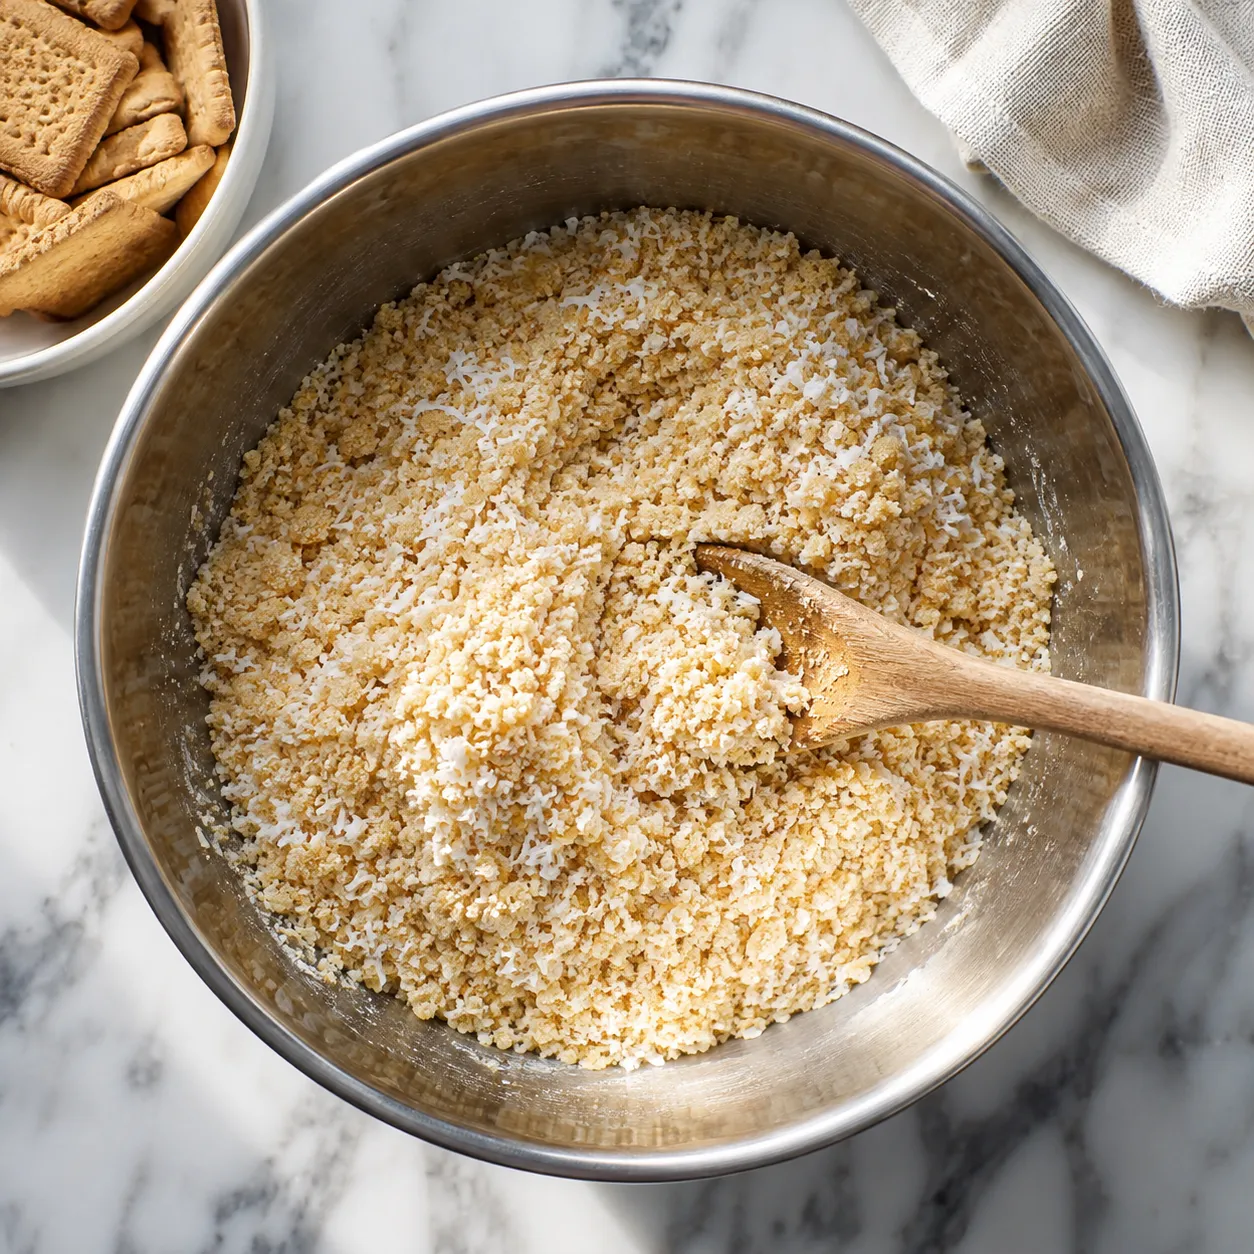 Combine crushed biscuits and coconut in a large bowl.
3. Melt butter and condensed milk
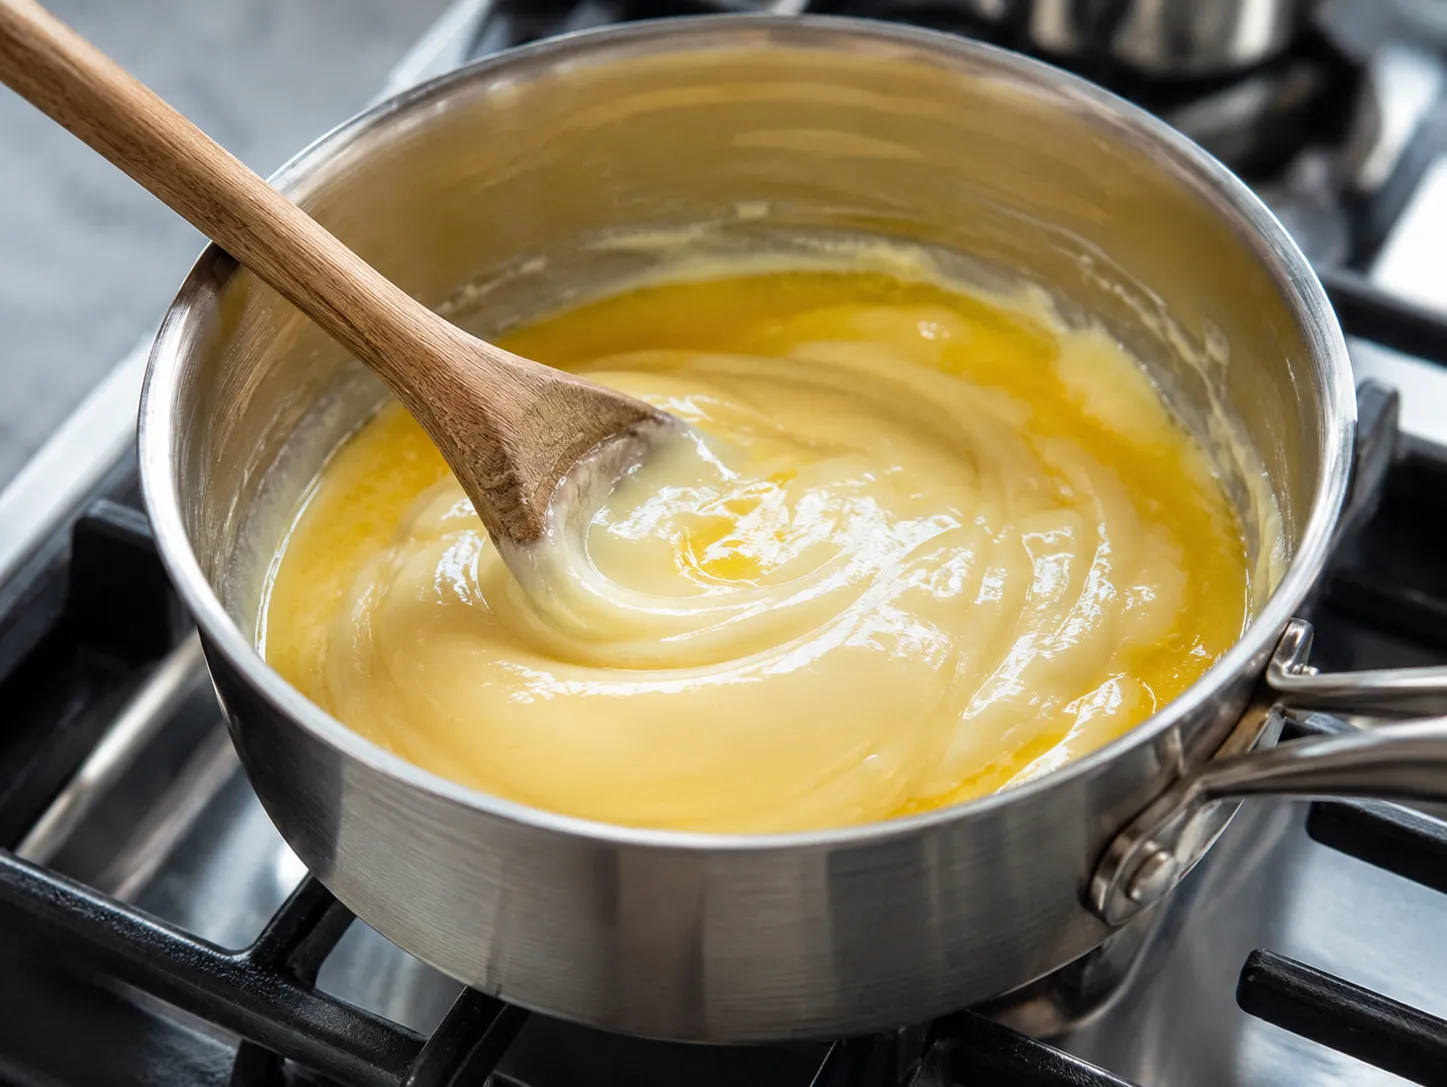 Melt the butter, then stir in the condensed milk until smooth.
4. Mix wet and dry ingredients
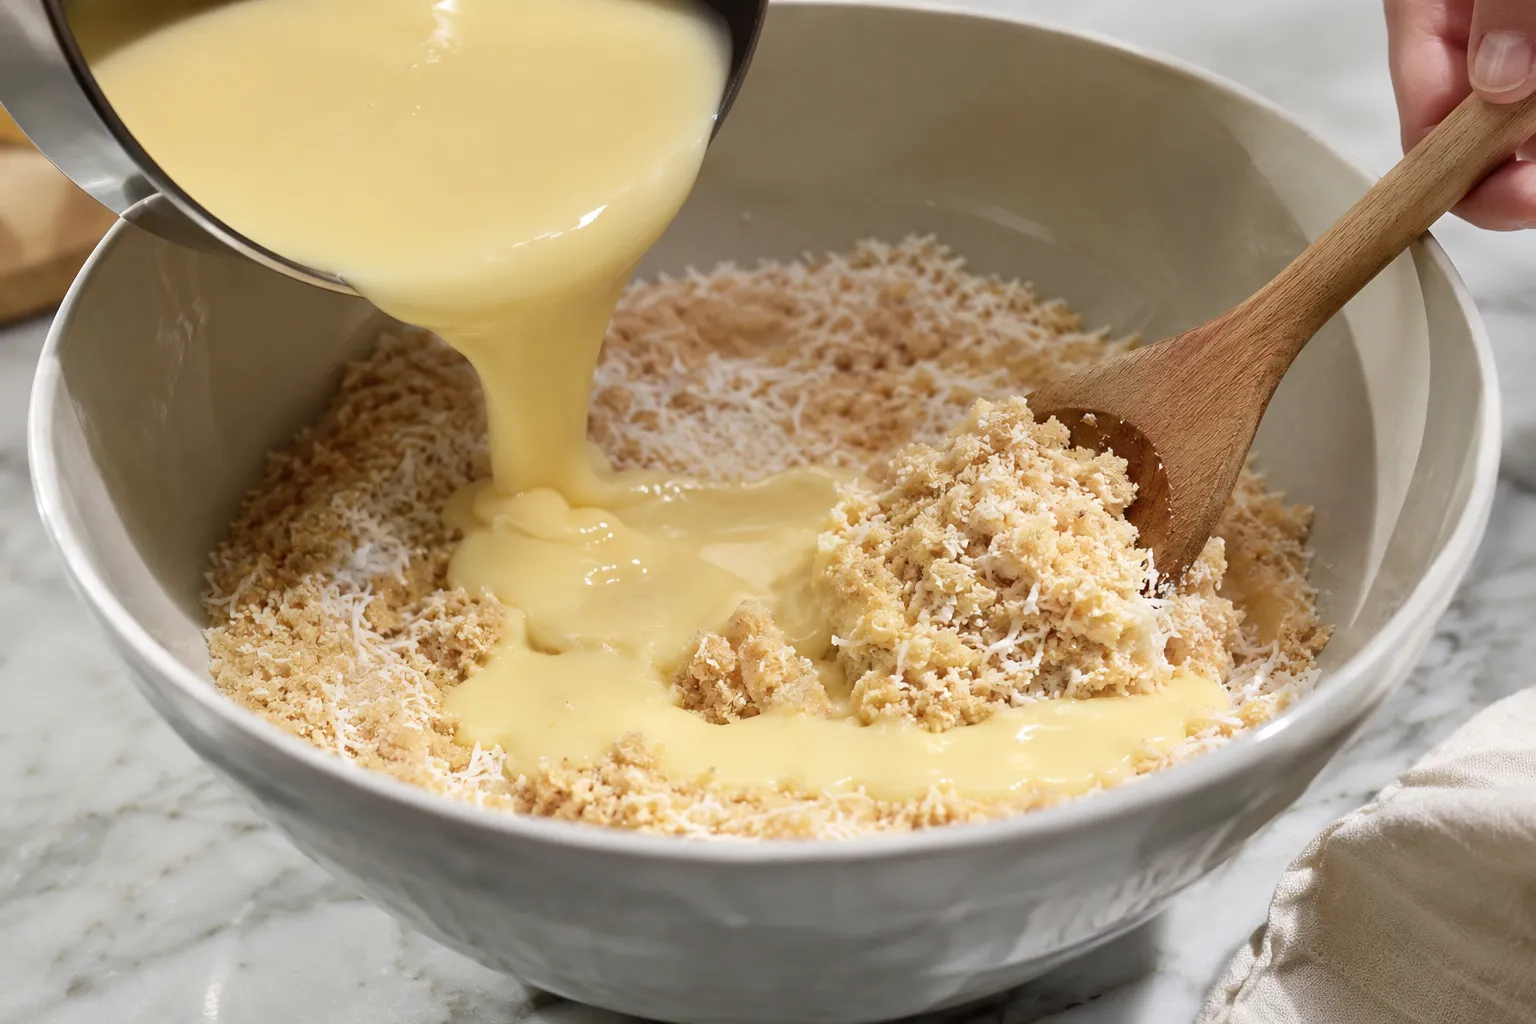 Pour the wet mixture over the dry ingredients and mix until every crumb is coated.
5. Press firmly into tin
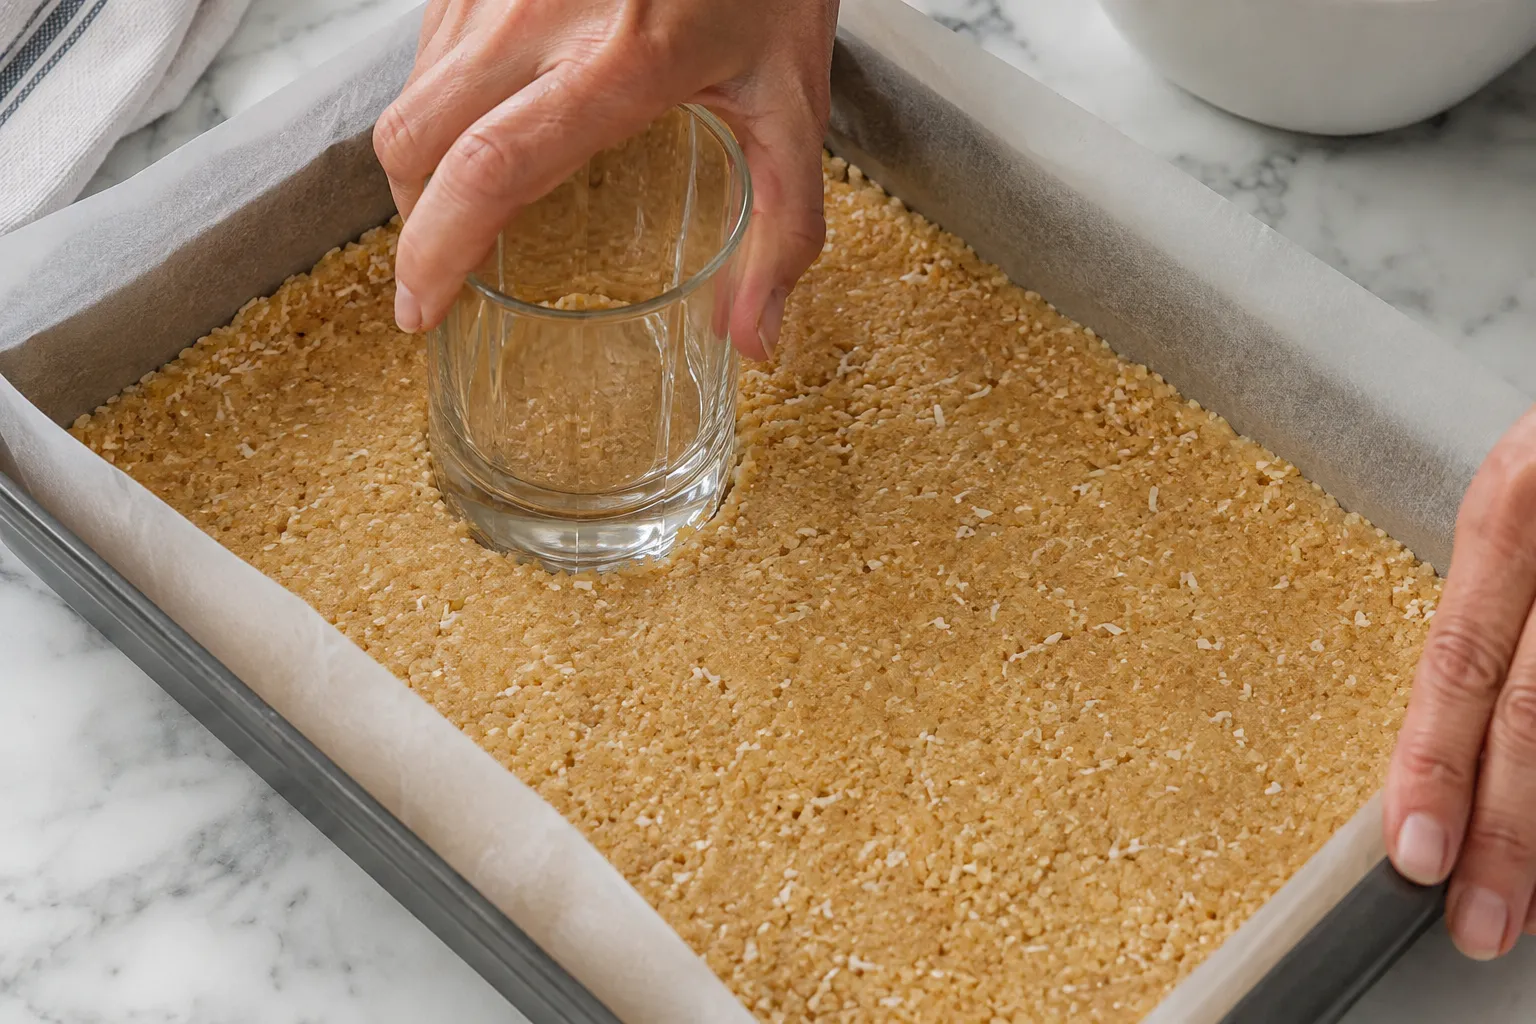 Press firmly and evenly into the prepared tin. Use the back of a spoon or the flat base of a glass to compact it — this step matters more than people expect, since a loosely packed base falls apart when you cut it later.
6. Chill the base
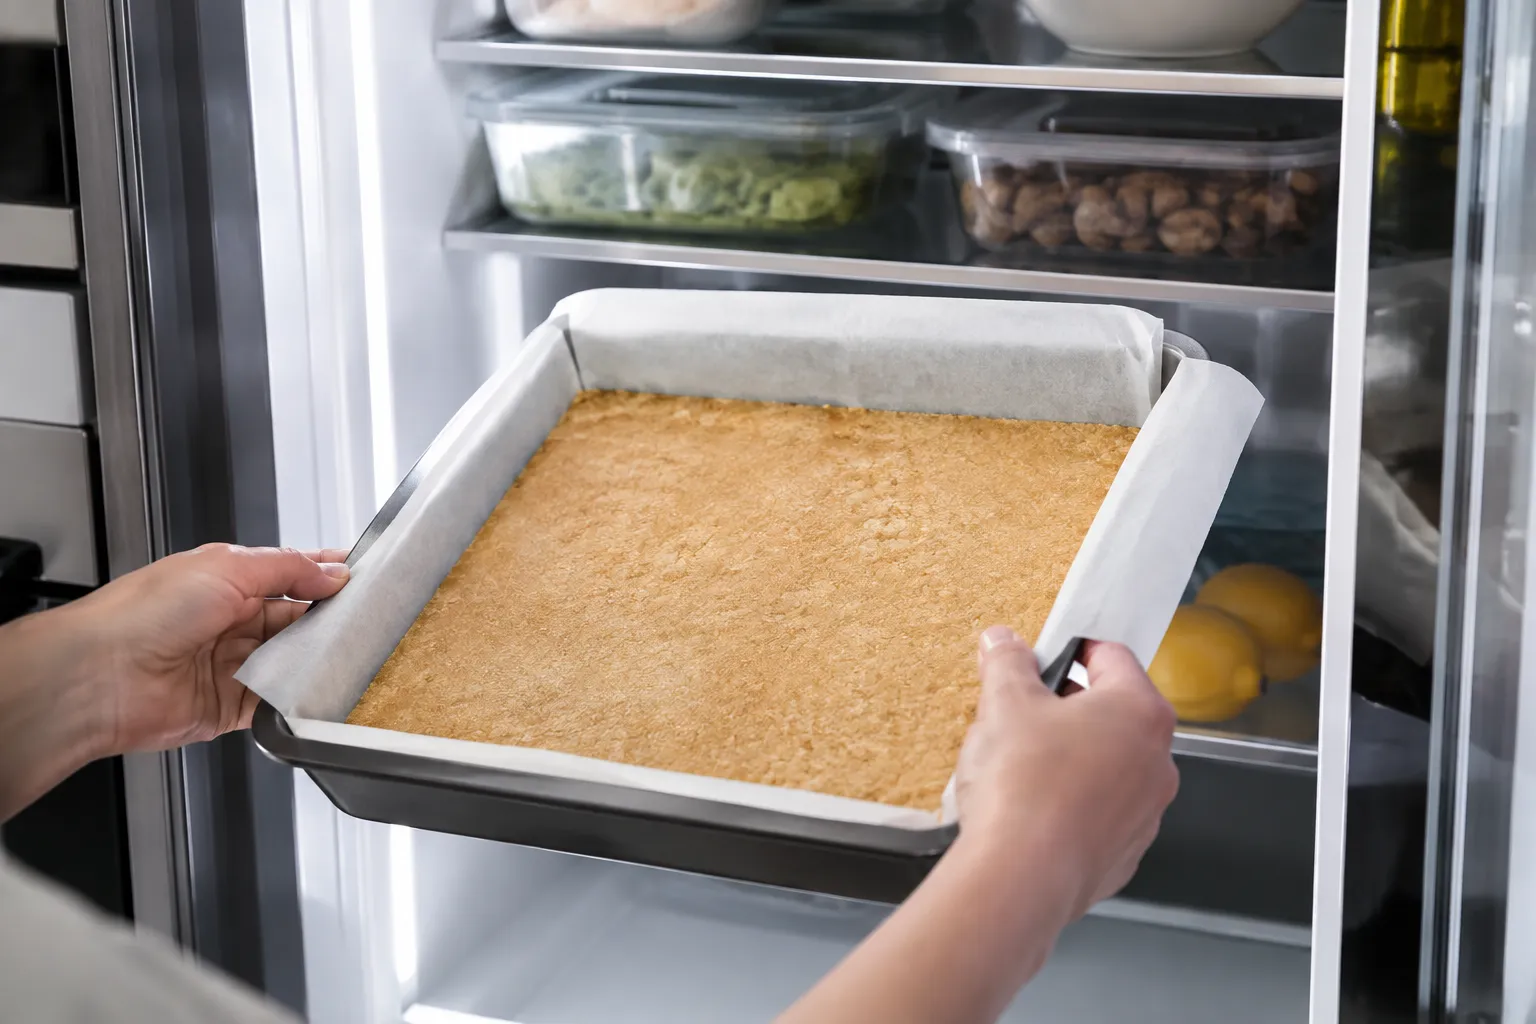 Refrigerate for at least an hour, until firm.
7. Prepare the lemon icing
 Beat the softened butter, icing sugar, lemon juice, and zest together until smooth. Adjust with a little more icing sugar or lemon juice until you get a spreadable but not runny consistency.
8. Spread the icing
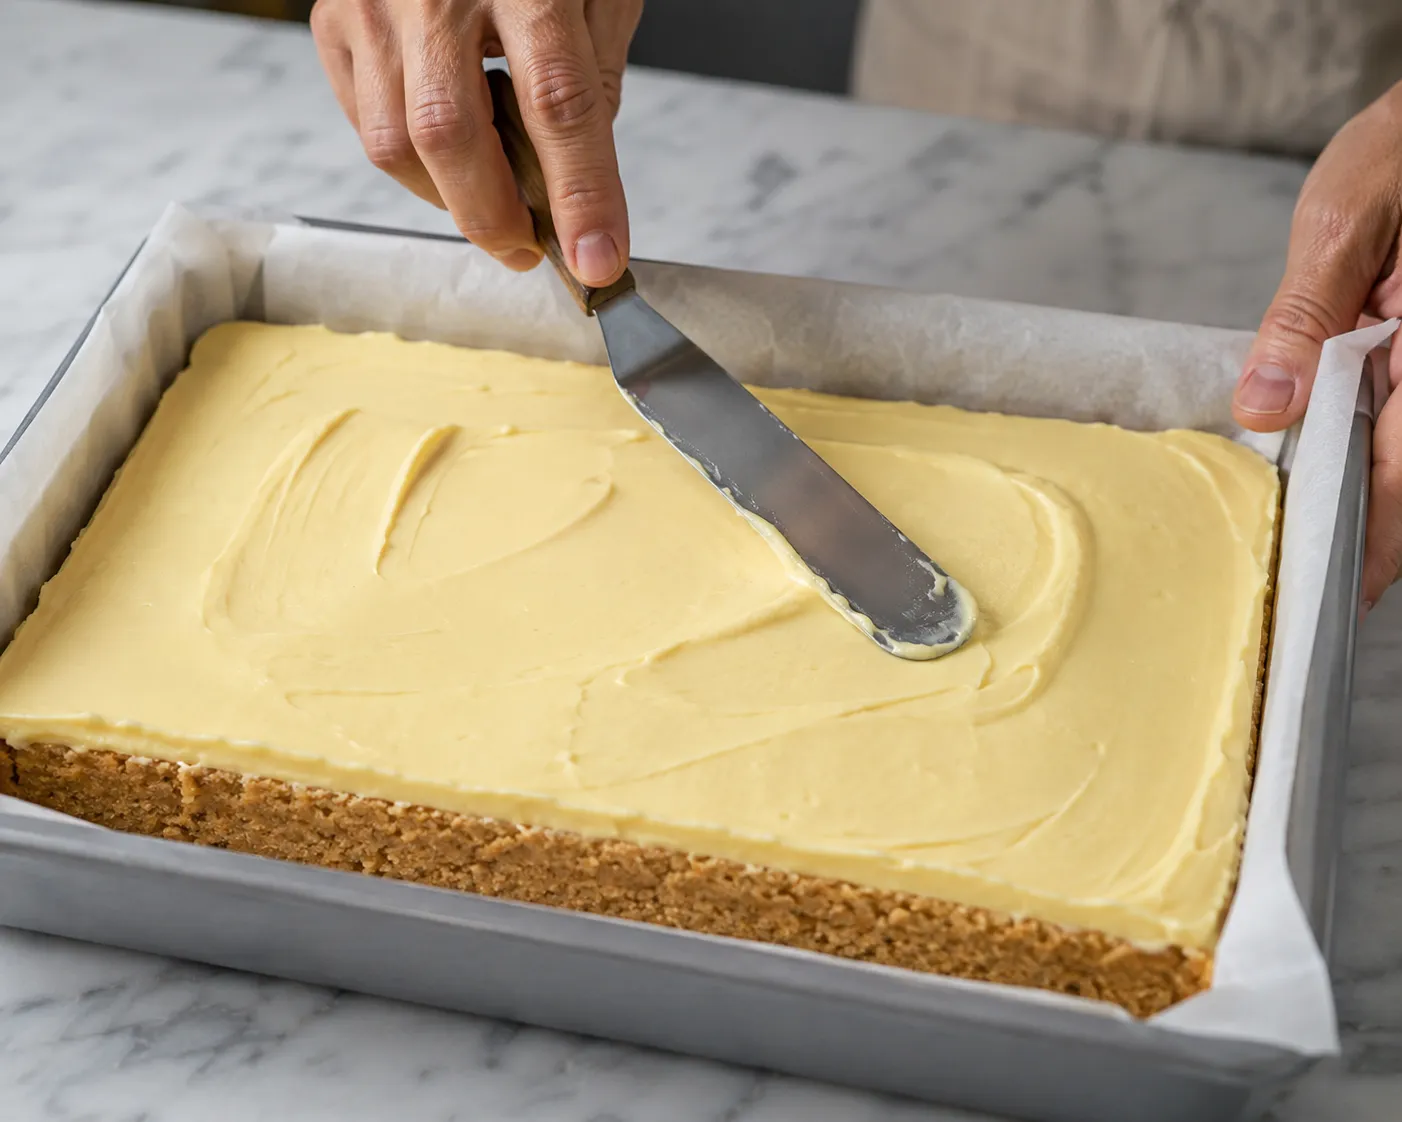 Spread the icing evenly over the chilled base.
9. Chill until set
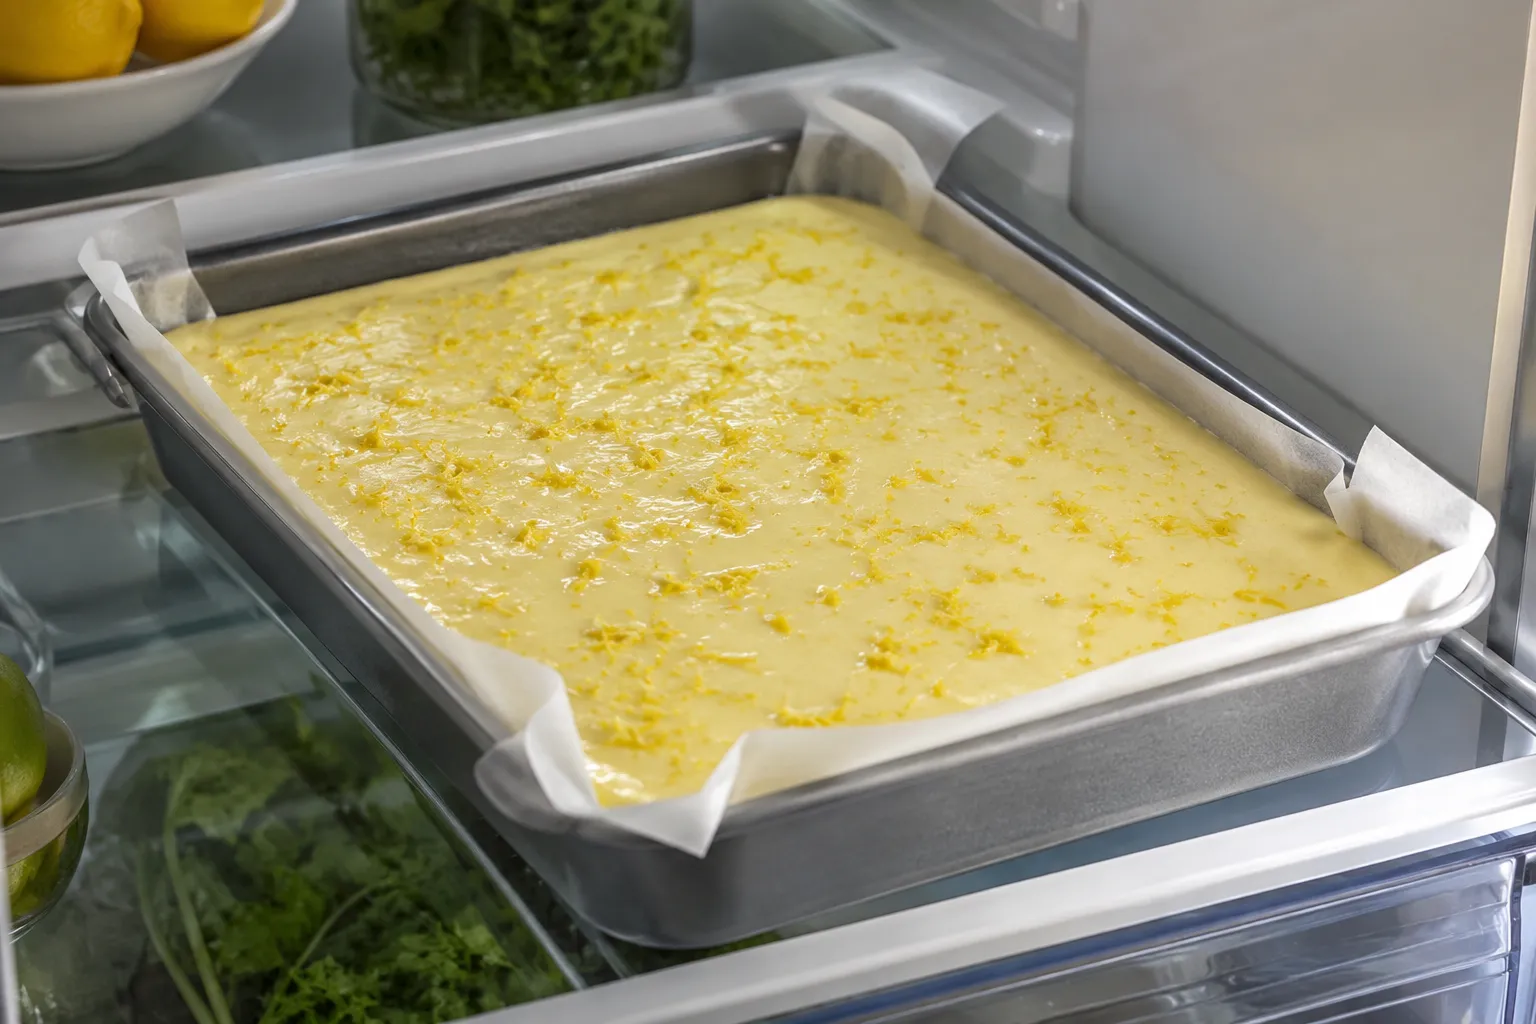 Return to the fridge for another 30–60 minutes to let the icing set before cutting.
10. Slice and serve
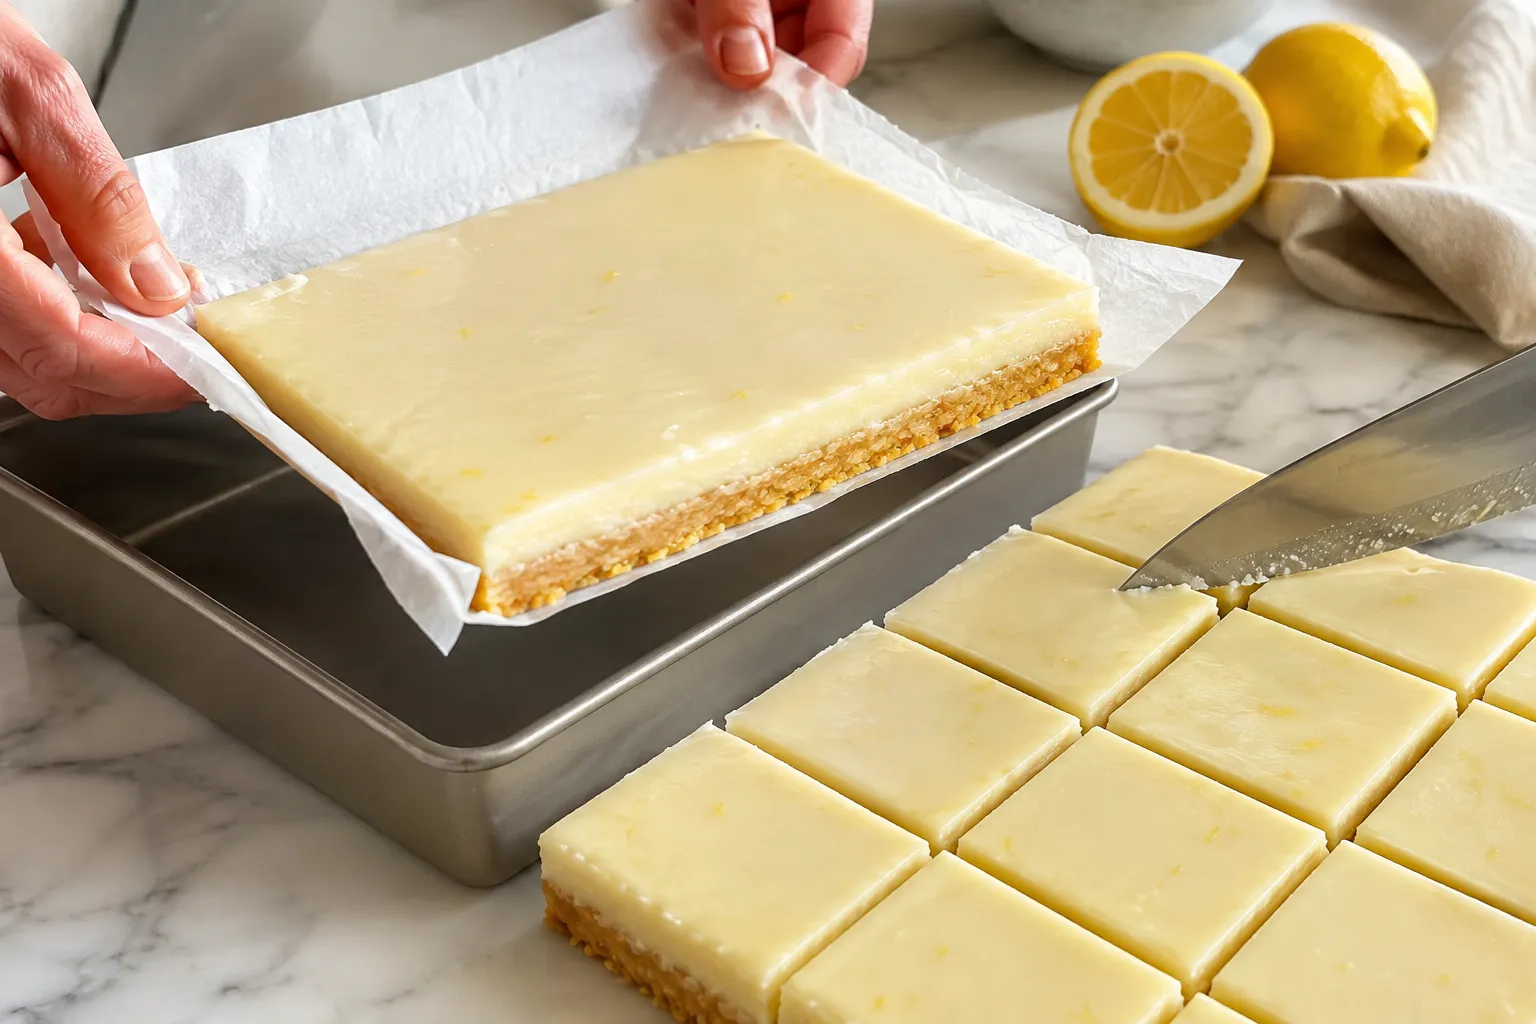 Lift out using the paper overhang, then cut into squares with a sharp knife, wiping the blade between cuts for clean edges.
---
Where People Go Wrong
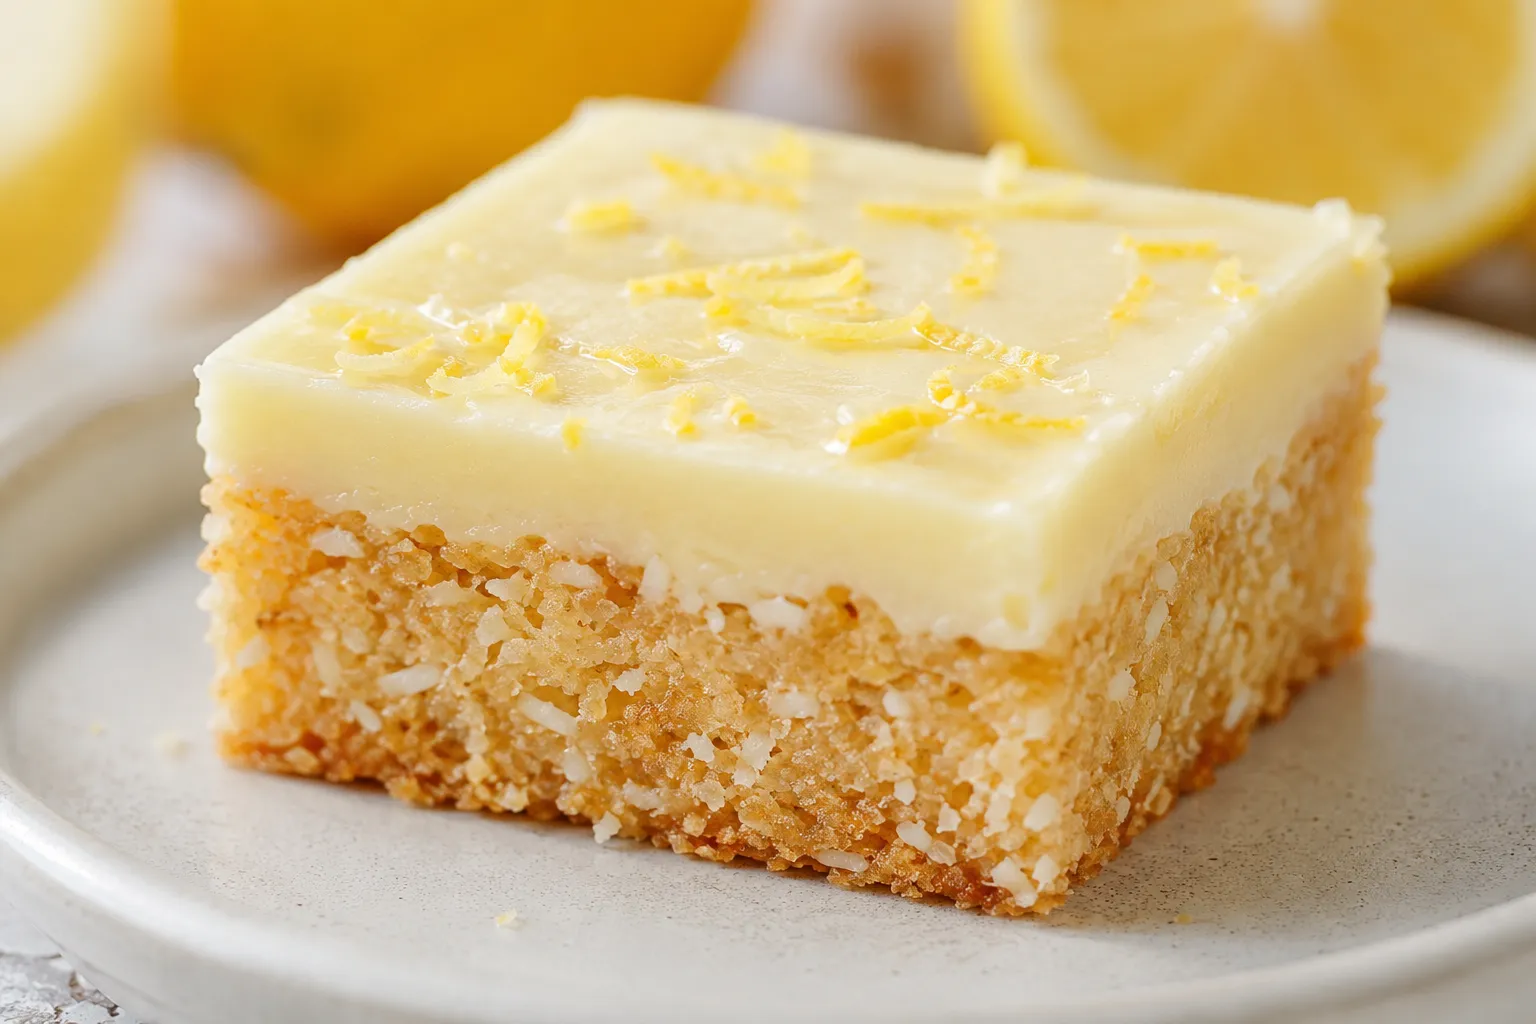
1. The base is under-compacted. This is the single most common failure point. If you don't press the base down firmly and evenly, it won't hold together when sliced — it'll crumble at the first cut. Take the extra minute to really pack it down. 2. Cutting before the icing sets. It's tempting to slice into it as soon as the icing looks solid on top, but the icing needs real time in the fridge to firm all the way through. Cutting too early smears the icing and drags crumbs through it. 3. Using a dull knife. A serrated or dull knife will tear the base and crack the icing rather than slicing cleanly. A thin, sharp chef's knife, warmed slightly under hot water and dried, gives the cleanest cuts. 4. Skimping on lemon. Because the base is quite sweet, an underpowered icing gets lost. Fresh zest matters here — it carries more lemon oil and aroma than juice alone, and it's what stops the slice from tasting like plain sweet icing sugar. 5. Storing it wrong. Lemon slice needs to stay refrigerated. Left at room temperature for too long, especially somewhere warm, the base softens and the icing can start to weep.
Variations Worth Trying
Storage and Shelf Life
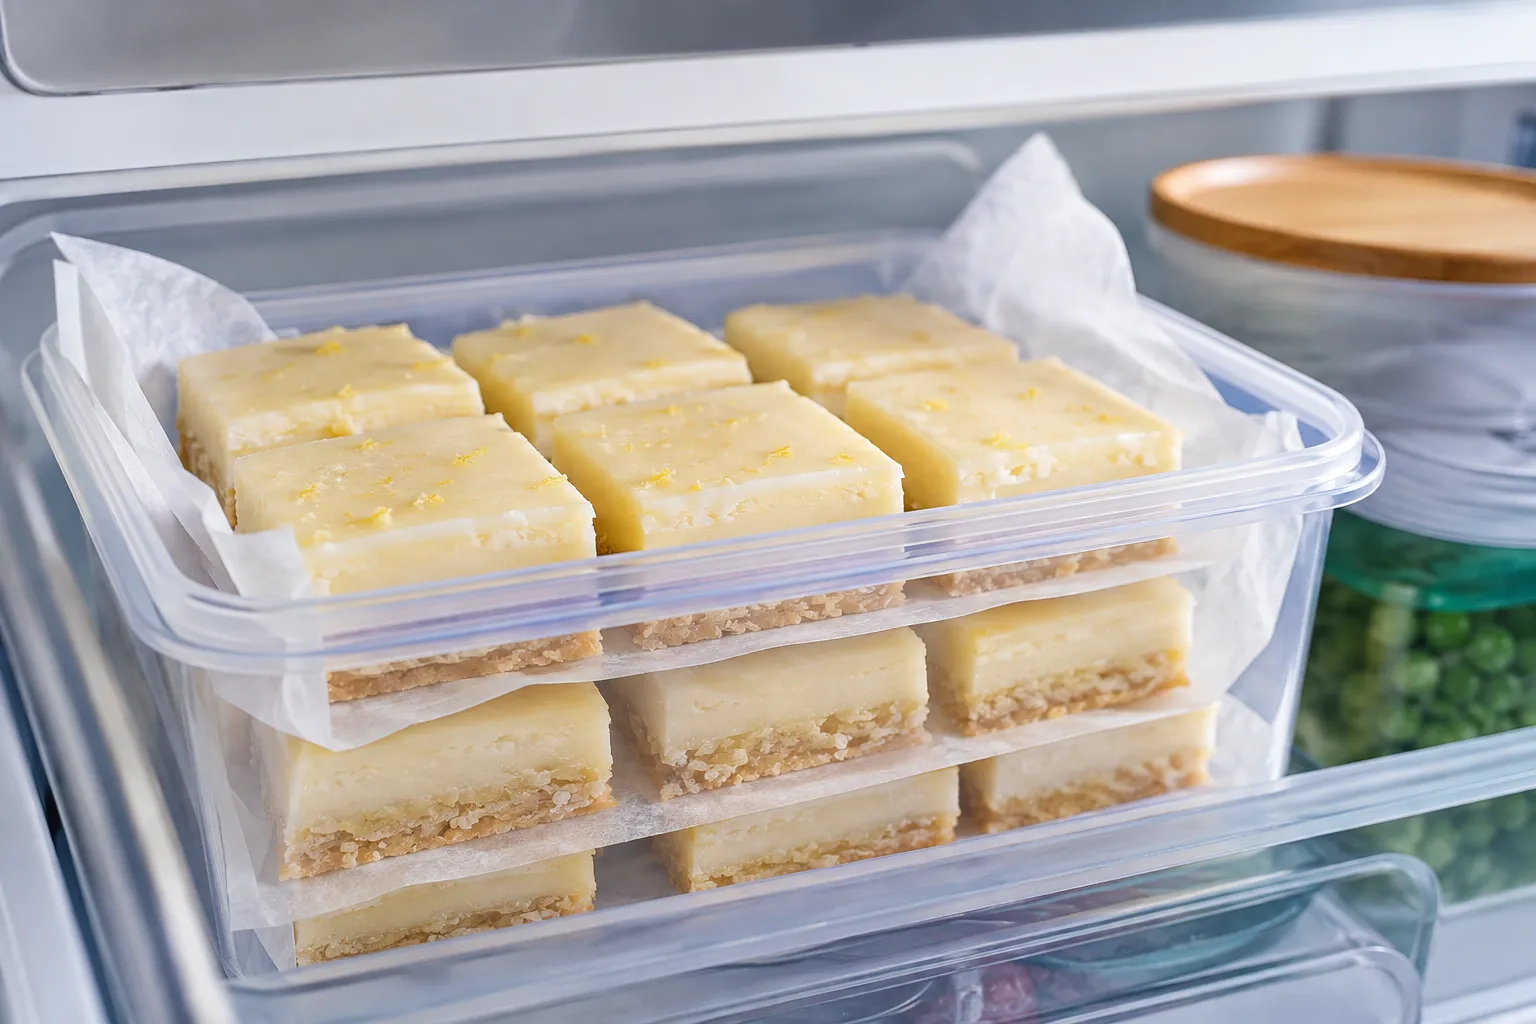
Kept in an airtight container in the refrigerator, lemon slice generally holds well for about a week. The base doesn't spoil quickly, but the texture is best in the first few days — after that, the biscuit base can start to soften as it absorbs moisture from the icing and the fridge environment.
It also freezes reasonably well. Cut it into squares first, freeze them in a single layer until solid, then transfer to an airtight container with baking paper between layers. Thaw in the fridge rather than at room temperature to avoid condensation softening the icing.
Lemon Slice vs. Lemon Bars: What's the Actual Difference?
People often use these terms interchangeably, but they're different desserts with different techniques.
| Feature | Lemon Slice | Lemon Bars |
|---|---|---|
| Base | Crushed biscuits, coconut, condensed milk (usually no-bake) | Shortbread pastry (baked) |
| Topping | Lemon buttercream-style icing | Baked lemon curd filling (eggs, sugar, lemon juice) |
| Texture | Firm, chewy base with a soft icing layer | Crisp shortbread base with a set custard-like top |
| Oven required | Usually not, beyond softening butter | Yes, twice — once for the base, once for the filling |
| Origin | Australia/New Zealand home baking tradition | American home baking tradition |
Neither is "better" — they're just built around different techniques and textures, and if you go looking for a lemon slice recipe expecting the tangy baked-curd texture of a lemon bar, you'll end up disappointed, and vice versa.
Frequently Asked Questions
Final Thoughts

Lemon slice earns its place in the traybake lineup because it asks so little of you and gives back a lot: a firm, coconutty base and a sharp, sweet lemon top that cuts through the richness. The technique is forgiving enough for a first-time baker and quick enough that it's genuinely realistic to make on a weeknight rather than only for special occasions.
If you're new to it, start with the classic recipe above before you branch into variations — get the compacting and the icing balance right first, since those are the two things that actually make or break the result. After that, it's an easy dessert to make your own.